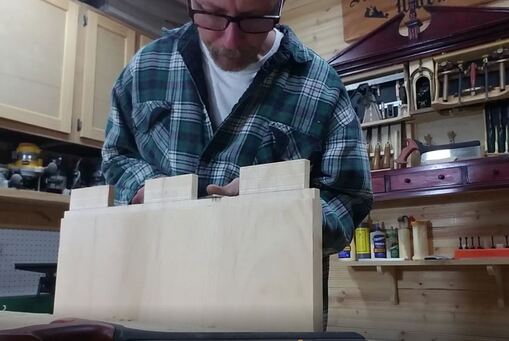
- BREADBOARD ENDS -
Here is a basic over view of my approach for creating breadboard ends, the idea is to give you a basic understanding for the method I use.
Breadboard ends are created many different ways, and the methods seem endless. Sliding dovetails, dowels, through tenons, haunched tenons, floating tenons and screws just to name a couple off the top of my head.
But more important then the method used to attach a breadboard is understanding why a breadboard is used. What is it's purpose other than adding a great look to your latest master piece ? In a single word, " Cupping " . Wood movement is a given it expands, it contracts and it cups varying in how much by everything from species of wood to the climate around it. While a breadboard end will not do anything to prevent expansion or contraction of wood, if done correctly it will help prevent the cupping of that table top you just built. This is my go to method for breadboard ends.
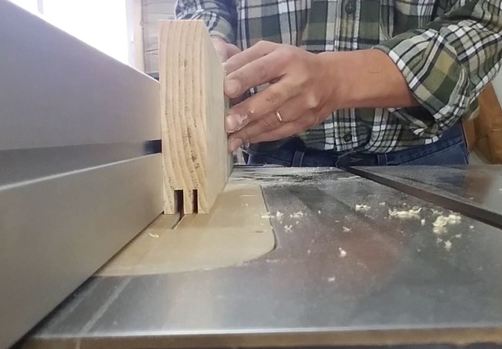
I start out by creating a groove that is center of one side of my breadboard using my table saw. The size of this groove will vary depending on the project and the size of the material being used. I was using 1" thick stock and my groove was 1/2" x 1/2" square.
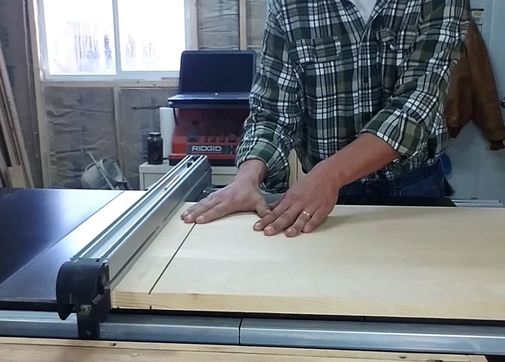
Next I make my shoulder cuts in the piece that will accept the breadboard. I set my fence at 2 1/2" from the blade for this, to allow for my groove in the breadboard that is 1/2" and I wanted my tenons to be 2" long. For the depth of this cut I just want to remove enough material to create a tongue that will fit into the groove of the breadboard. I always oversize this so that it is just a little too thick to fit into the groove.
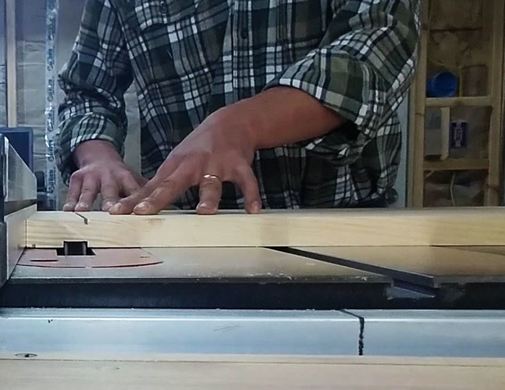
After making my shoulder cuts, I use my dado stack to remove the rest of the waste material from both top and bottom.
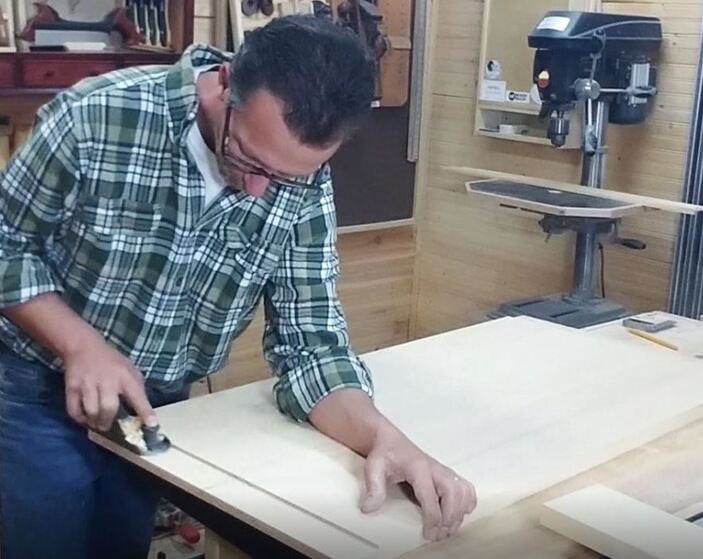
With my tongue created I use a combination of a shoulder planes to clean up the tongue until I have a good snug fit into the groove of my breadboard.
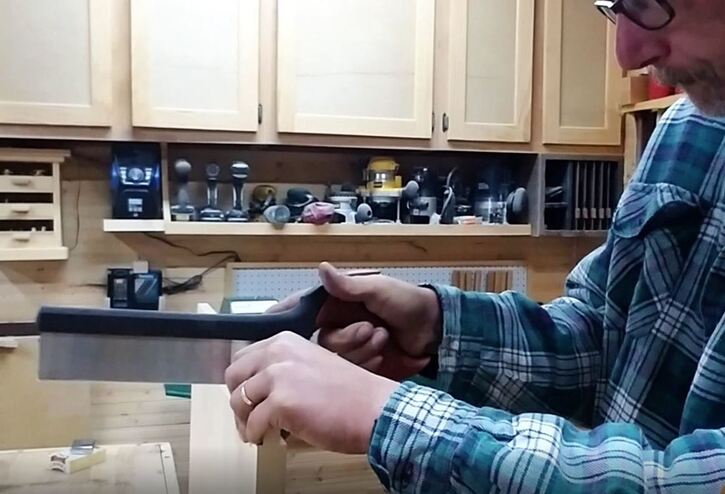
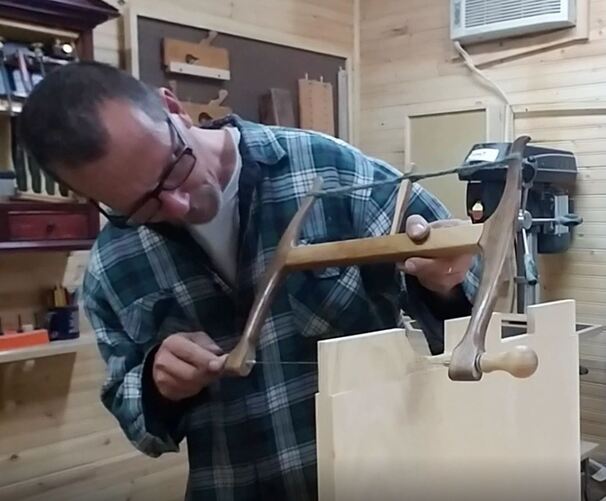
Once I have a good fit I create the tenons. First making my shoulder cuts then removing the waste material with my turning saw and last cleaning and squaring everything. The size of the tenons is going to vary with the project but when I cut my tenons I stopped 1/2" from the shoulder of the tongue creating a haunch that fits into the groove of the breadboard.
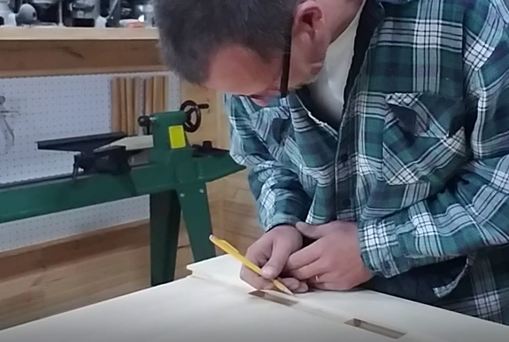
Then placing the breadboard onto the tenons where I want it to be attached I carefully mark the location of each tenon on to the breadboard.
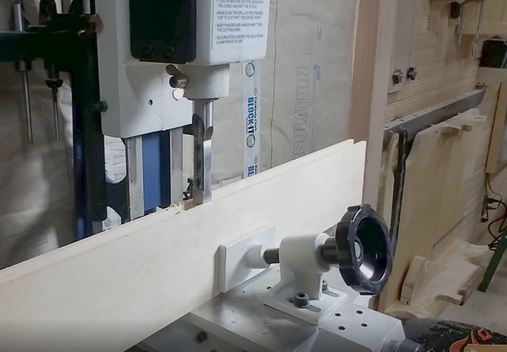
Then using the mortising machine I cut the mortises at the locations I marked.
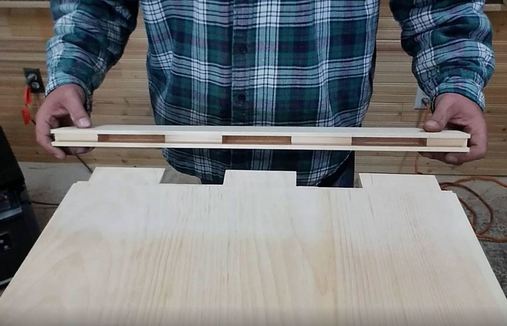
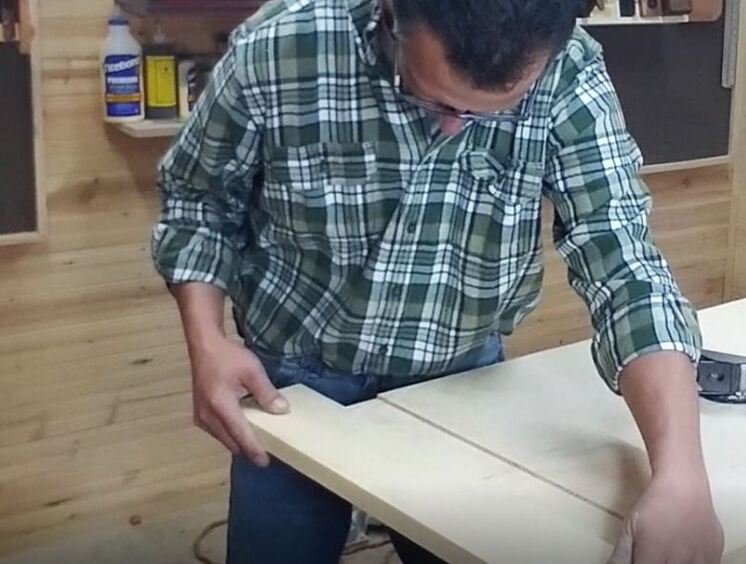
With my mortises cut I do a test fit.
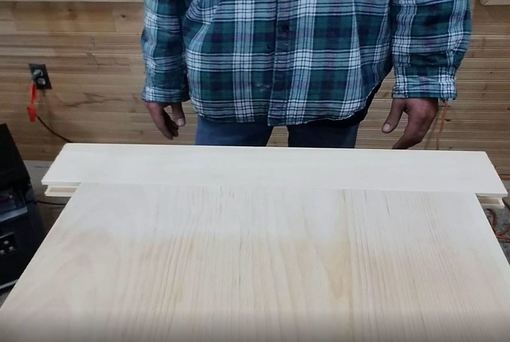
And the fit looks good. When I glue the breadboard end I only apply glue to the center tenon, once the glue has dried I trim the ends of the breadboards flush.
