Easiest way to build a shelf
The idea for this build was to create a simple shelf that was enclosed. The shelf being enclosed was important with this project because it was going to be used in my motor home.
I always recommend watching the build video for a better understanding of the build process.
Click Here for Video : https://youtu.be/_Hnla4VTtg8
|
|
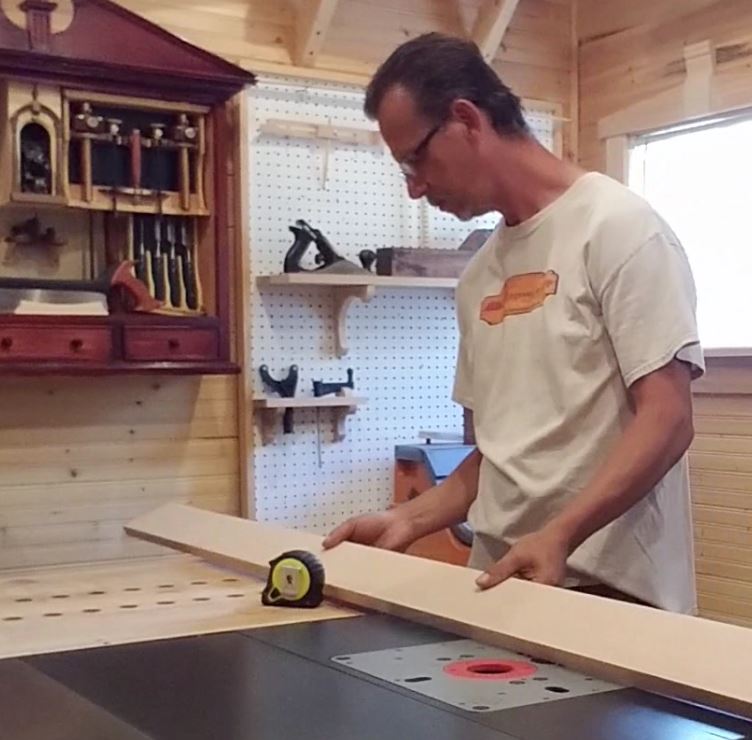
I decided to use half inch thick oak for this project, and the first thing I needed to do was lay out my dimensions.
|

|
With everything laid out I cut all of my parts to size at the table saw using my cross cut sled. This shelf could be made to any size to fit your needs, for me it was 11 3/8" wide by 3 3/4" deep and 3" tall.
|
|
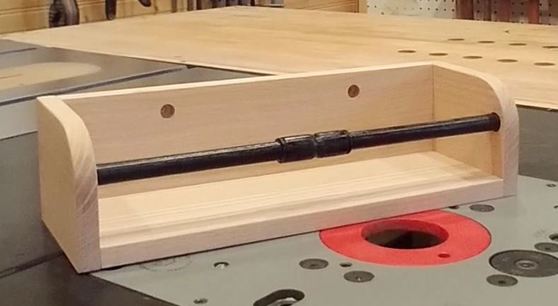
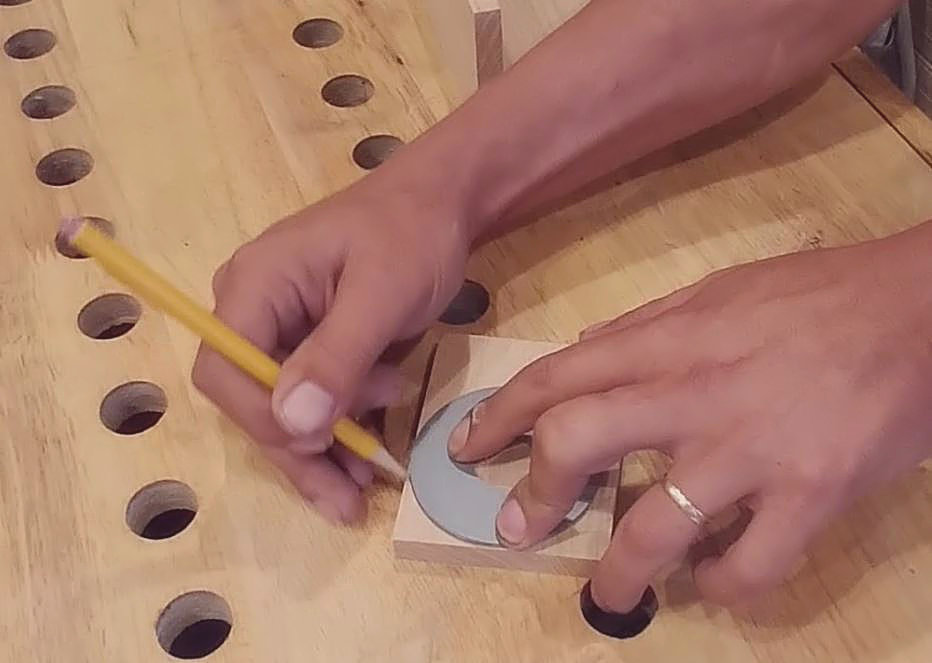
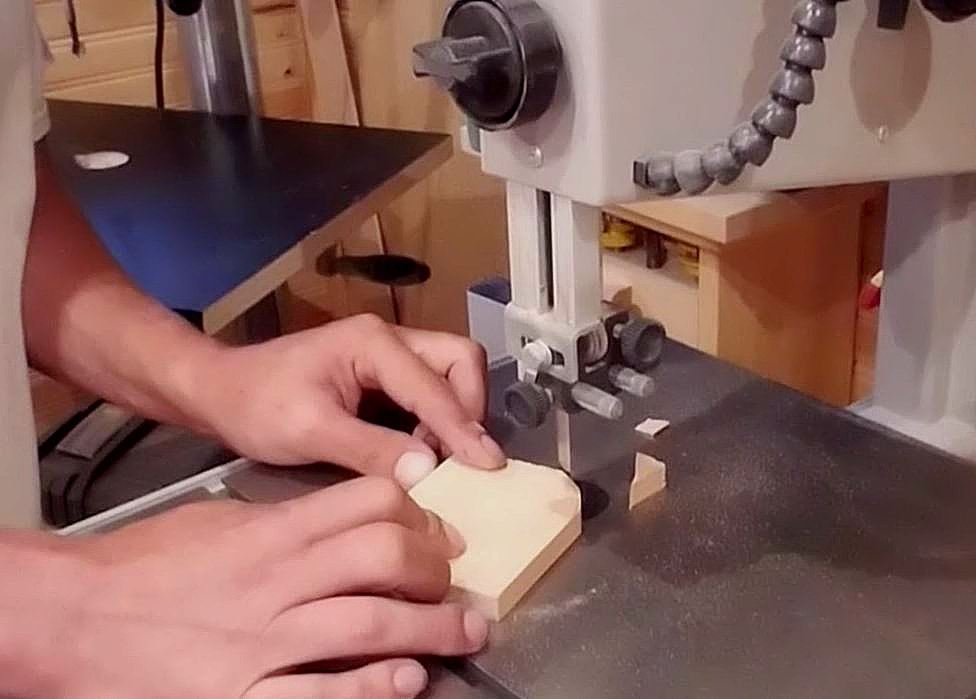
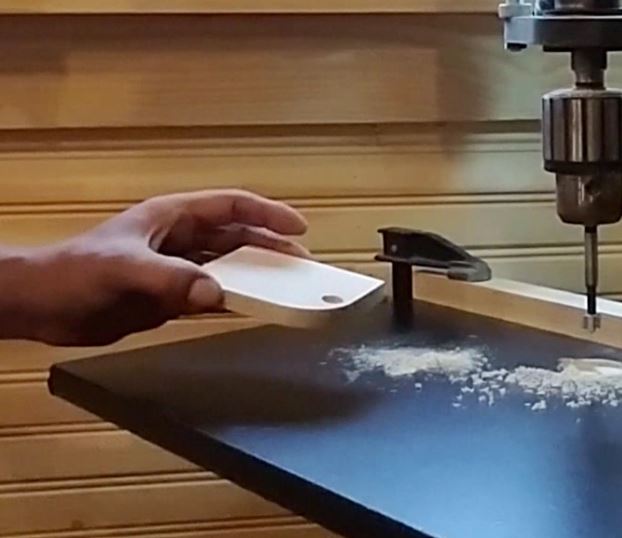
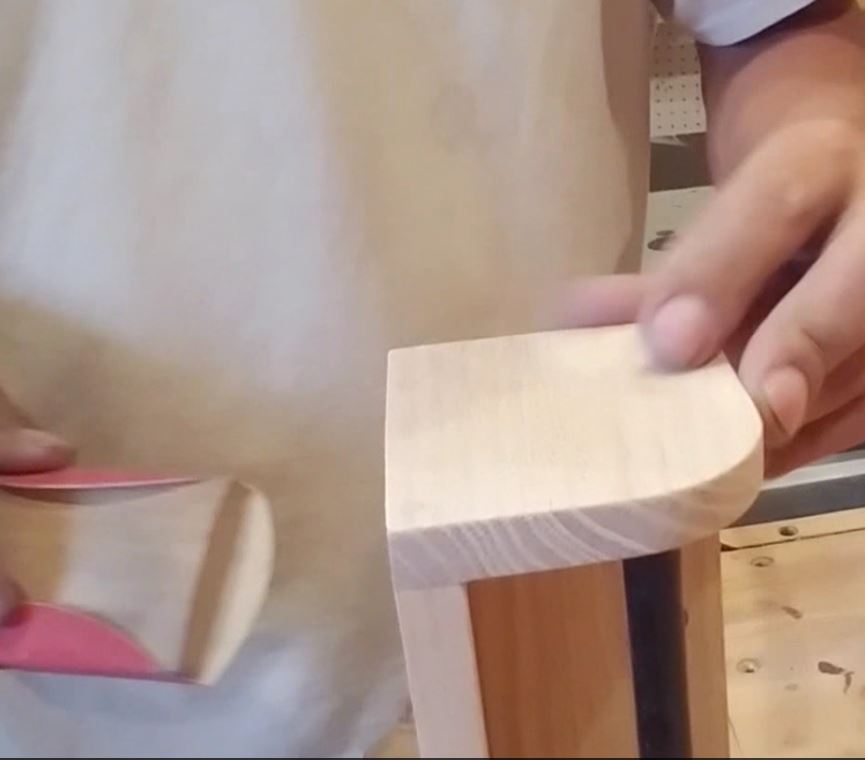
I did not want this shelf to have any blunt edges to it, so I rounded over the front edges of the two uprights located at both ends of the shelf. By first tracing a curve using a washer as a guide, then cutting it out on my band saw. I did a little sanding to clean up any saw marks that were there and I was really happy with end result.
|
|
|
|
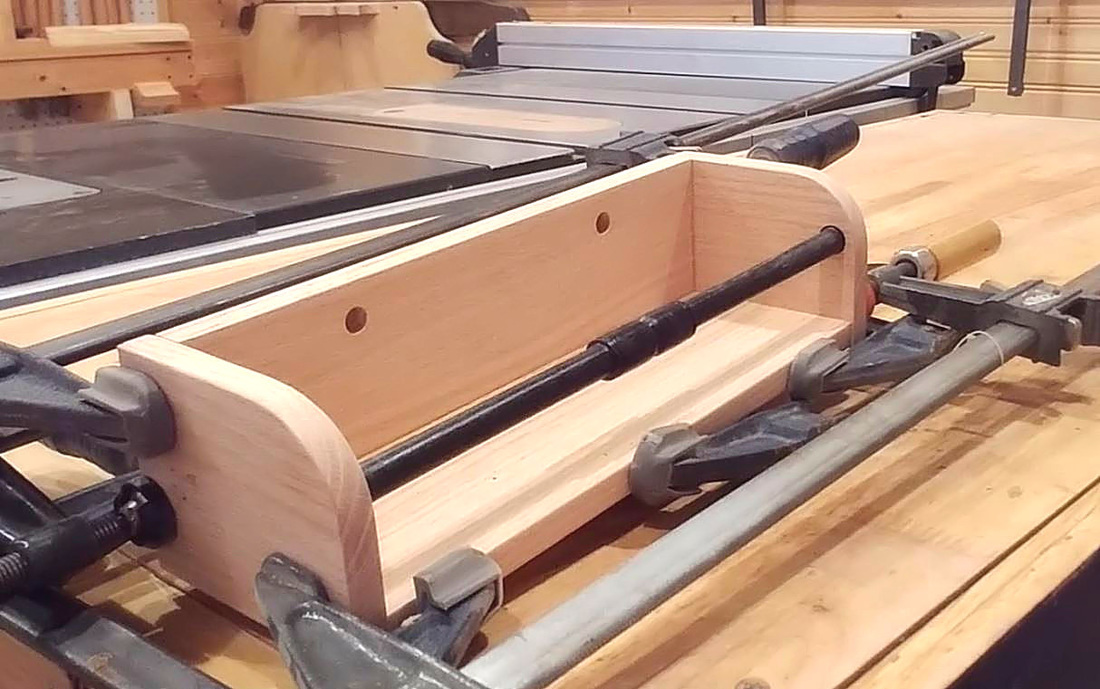
Next I needed to prevent anything from falling off of the front of this shelf so I decided to turn a spindle for this on my lathe. You could also use a dowel for this.
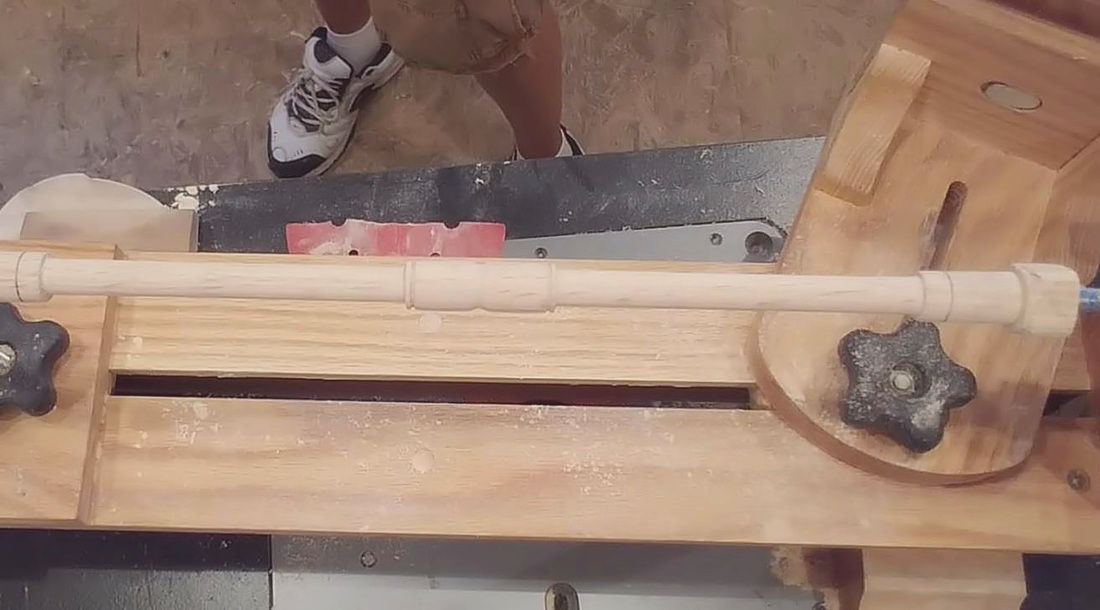
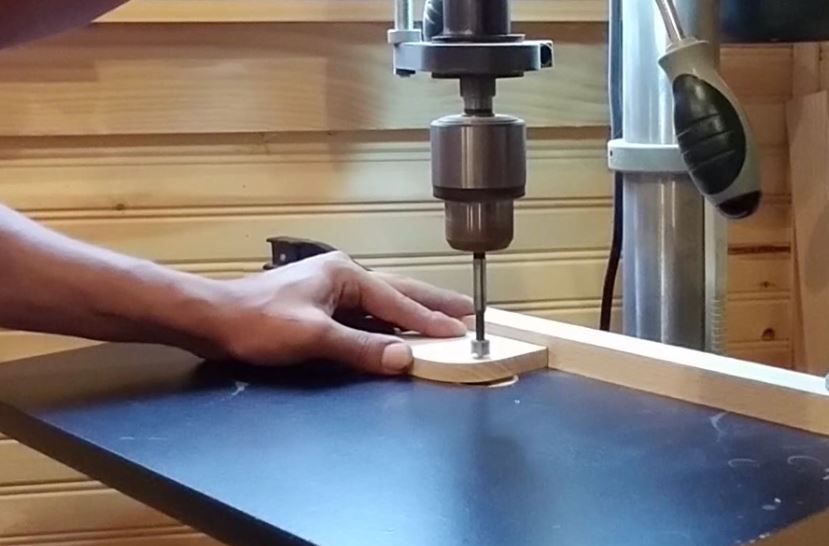
To install the spindle I created a mortise in both uprights on my drill press using a fostner bit.
|
|
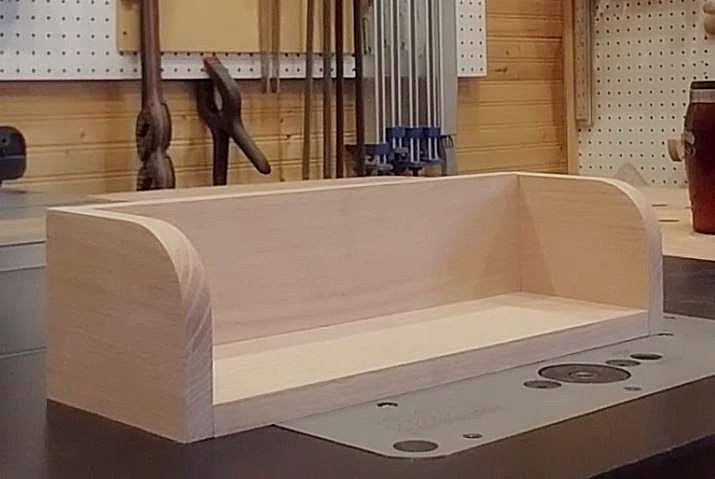
I did paint the spindle black just to add a contrast to the piece, and with it together in a dry assembly I thought it looked great.
The other thing I did at the drill press was to drill two recessed holes in the back upright of the shelf. These will be used to mount it to the wall.
The other thing I did at the drill press was to drill two recessed holes in the back upright of the shelf. These will be used to mount it to the wall.

The glue up for this project was really easy just glue it together, no screws or nail or any mechanical fasteners.
Note : I did not use any glue on the spindle.
Note : I did not use any glue on the spindle.
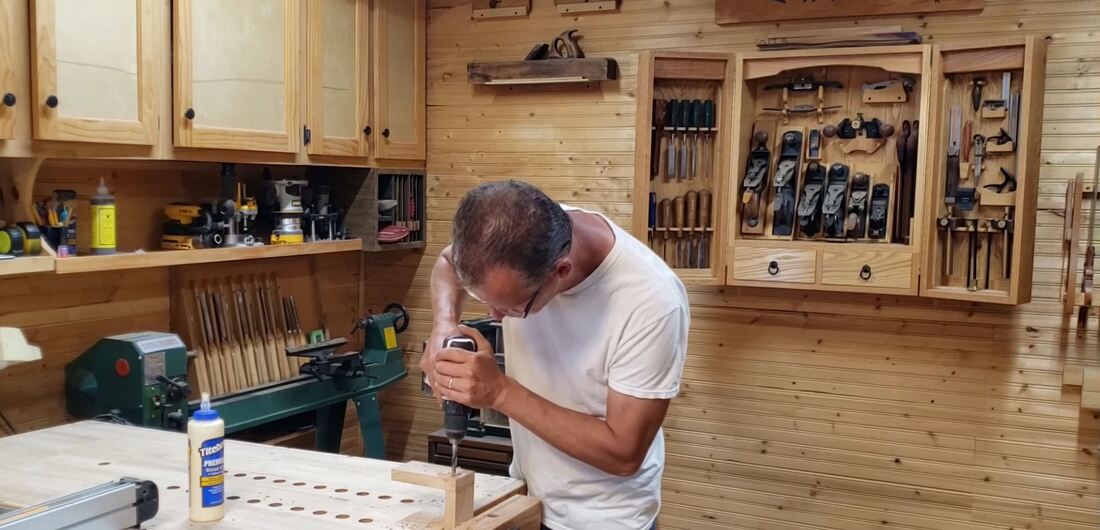
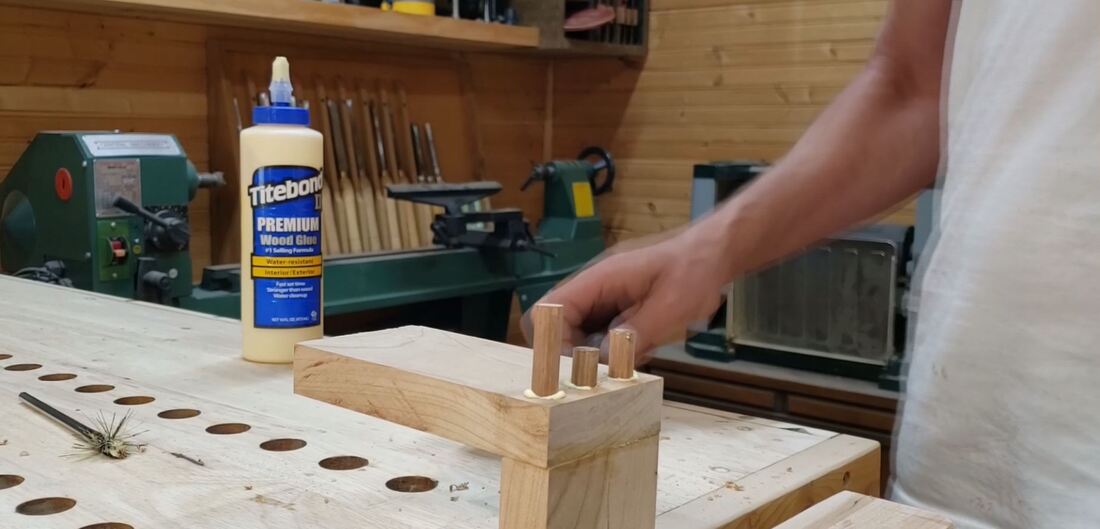
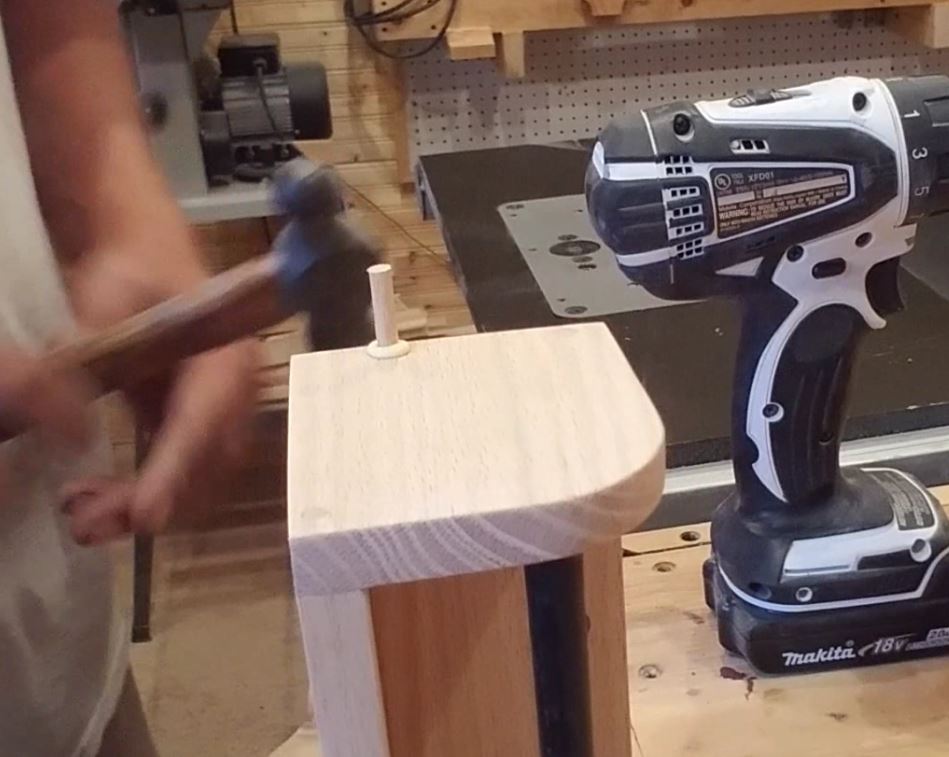
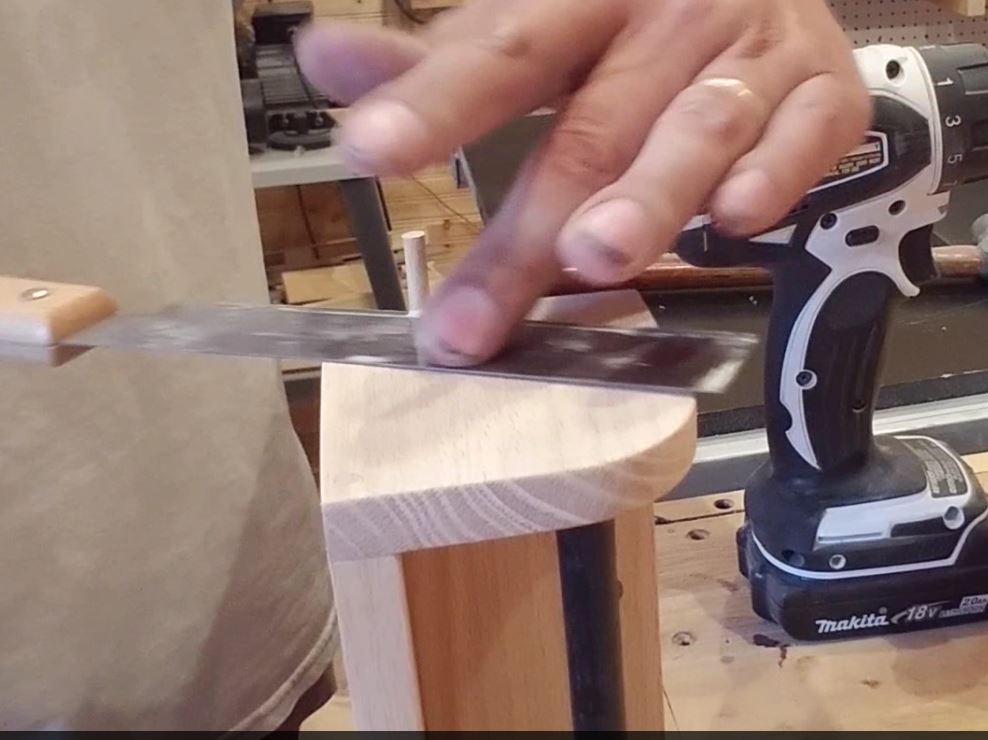
After the glue was dry I used my drill to drill a series of holes through both side pieces and into the opposing piece, I ended up drilling two holes per area ending up with four holes at each end. I then drove a dowel with glue applied to it into each of these holes.

|
|
Trimmed the dowel flush with flush trim saw and sanded. This will create a very strong joint that will last.
|
|

For a finish I used a wipe on semi gloss polyurethane, applying five coats and sanding between each coat.
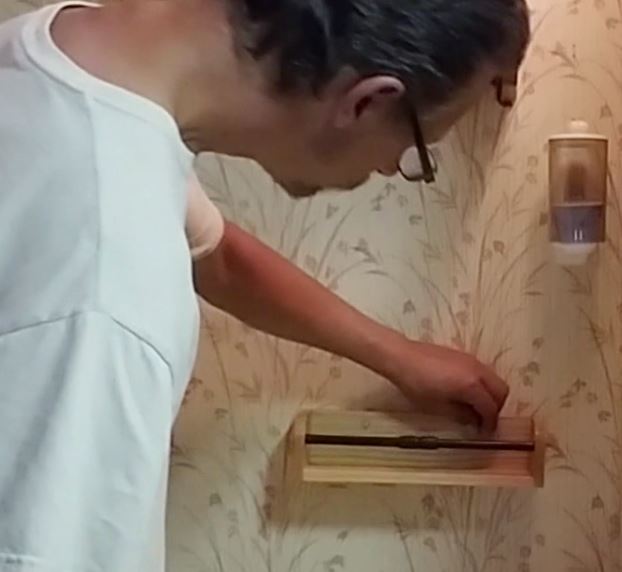
I mounted the shelf to the wall using wall anchors, inserting a plug into the recessed hole to conceal the screw head.
This shelf was intended for my motor home to hold small items like this bottle of soap, without concern of it falling off as we travel, and I think it will serve it's purpose for many years to come.
This shelf was intended for my motor home to hold small items like this bottle of soap, without concern of it falling off as we travel, and I think it will serve it's purpose for many years to come.
|

|

Copyright © 2011-2016 By The Shavingwood Workshop all rights reserved
|
FOLLOW ME HERE : WEBSITE: www.shavingwoodworkshop.com TWITTER: https://twitter.com/Shavingwood PINTREST: www.pinterest.com/shavingwood/ FACEBOOK: http://fb.me/TheShavingwoodWorkshop |
|
