- HOW TO CLAMP A MITER JOINT -
Clamping a miter joint can certainly create a challenge when approaching projects like box making, picture frames and ect. But for almost all miter joints I approach them the same way.
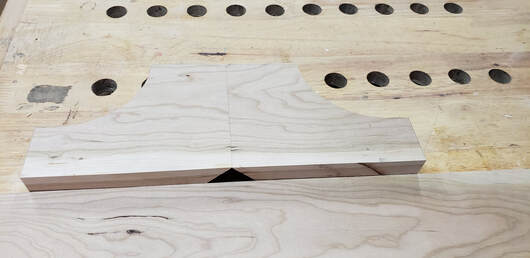
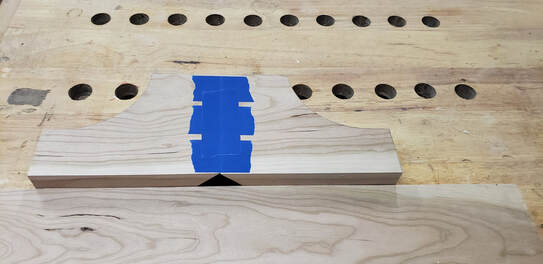
My go to clamp usually is tape, a roll of the blue. With the faces of the pieces facing upward on my bench I will bring the mitered edges together then apply tape across the joint, making sure the two joints are tight to each other. It's a really good idea to use some sort of a straight edge to help ensure your pieces are square to each other, in this image I used a piece of stock that I knew was square.
|
|
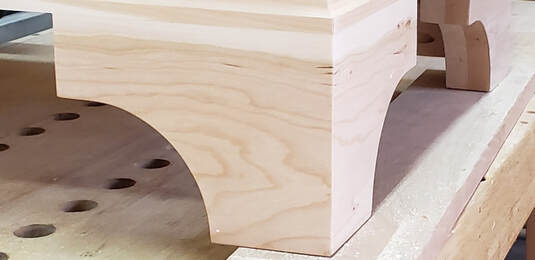
Then turning my piece over I will apply glue to the joint area and close the joint, now holding the joint closed tightly I will use another piece of tape to hold the joint closed until the glue dries. Once the glue dries remove the tape and you should be set.

|
|

