- RAISED PANEL JIG -
|
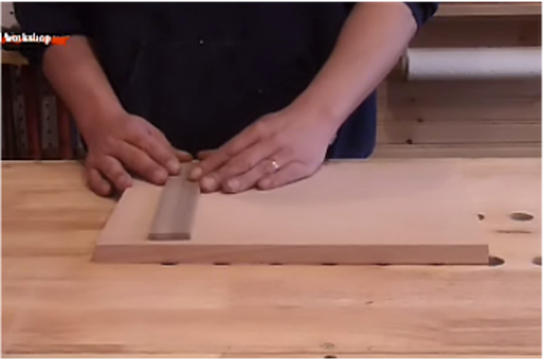
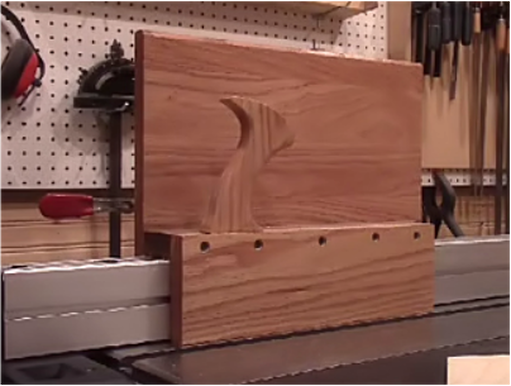
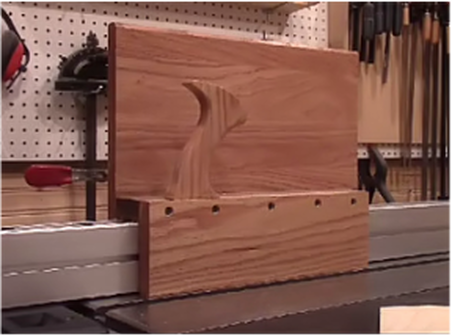
For the face of the jig I used 3/4 inch Oak that measures 15 inches in length by 12 inches tall.. I started building this jig by attaching a stop that runs across the 12 inch length of the face. Made from a piece of Walnut that measures 1 and 1/2 inches wide by 10 inches tall and a 1/4 of an inch in thickness. The stop was glued down and I used pin nails to hold it until the glue dried. Approximately 1 and a 1/2 inches in from one end. |
|
|
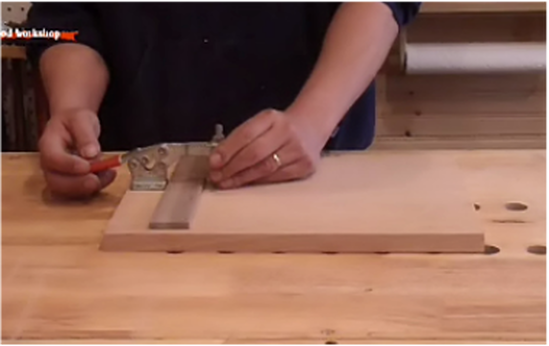
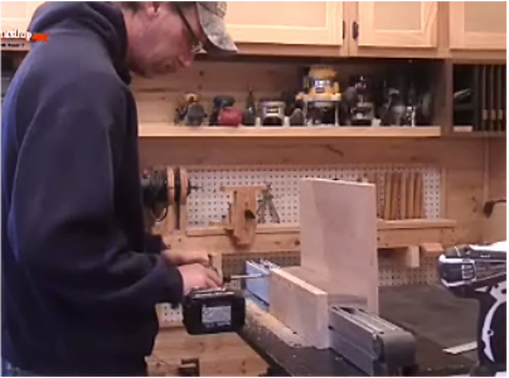
Next I installed a toggle clamp by predrilling then attaching with screws. |
|
|
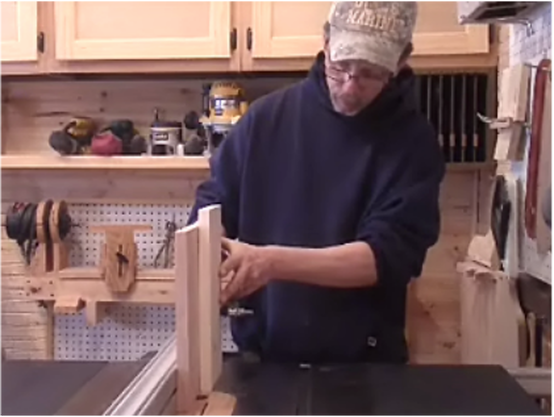
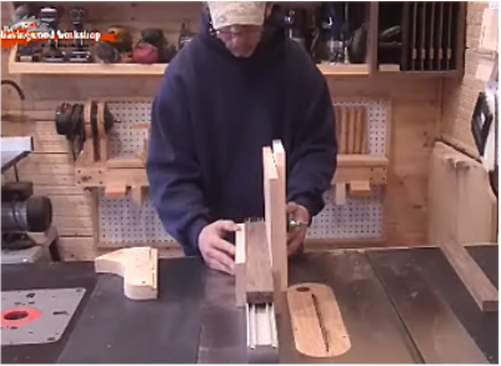
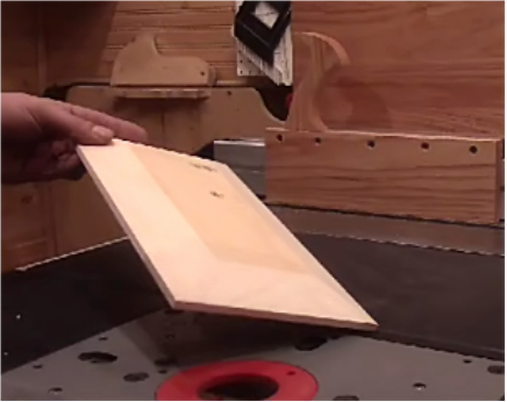
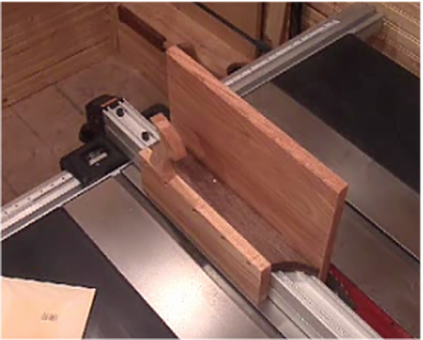
My idea was for the jig to ride the fence of my table saw while holding my material in place I wished to create the raised panel in as shown. I wanted to use the fence as my guide for this jig mainly to create a quick set up time, but I also knew this would guarantee a square cut. |
|
To achieve this I built a cradle made from 3/4 inch Oak and Walnut. The Walnut would bridge the top of the fence connecting
the face of the jig to the Oak runner on the opposite side of the fence.
|
|
|
With the pieces I was going to use cut to size I assembled the cradle using glue and screws. I assembled this on my fence to ensure I would have a good tight fit, but loose enough the jig would still be able to slide the length of the fence with out binding. |
|
|
The last thing I had to do was create a handle. I shaped this from a piece of Oak then attached it using two dowel, one to the front and the other to the rear of the handle with glue. |
|
|
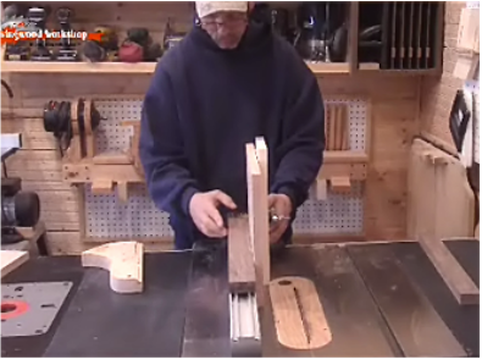
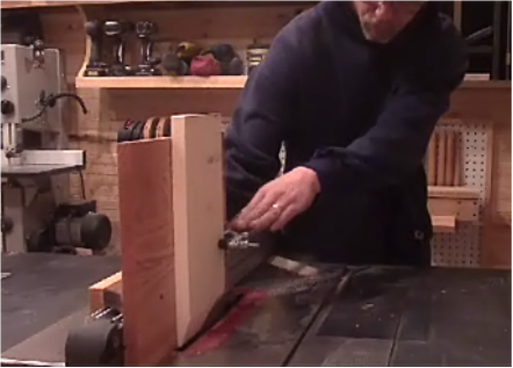
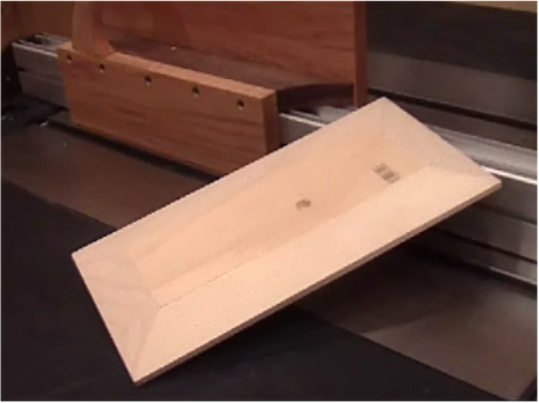
To make my first cut with the jig I set my table saw blade at about a 18 degree angle and my fence distance from the blade was set so it would leave a 1/4 of an inch of material after I make my cut. With everything set up I made my first cut, then rotated my piece of stock clock wise to make my next repeating this until all four edges where cut. |
|
The end result was a perfect raised panel for a door.
|
|
My choice for materials for this project where not made for any reason other than this is what I had lying around in my scrap bin.
The finish I used on this jig was a wipe on polyurethane.
Over all I am very happy with the jig, it's really comfortable to use and it does a really nice job.

|
|
|

