- ROUTER EDGE GUIDE -
|
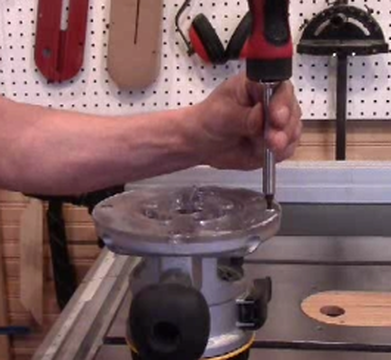
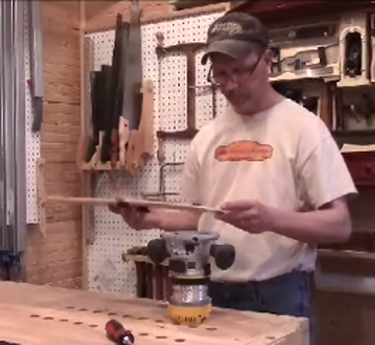
The first thing I did was remove the base plate from my router so that I could use this as a template. On most routers the base is attached with a series of screws that are easily removed with the router turned up side down as shown. |
|

|
|
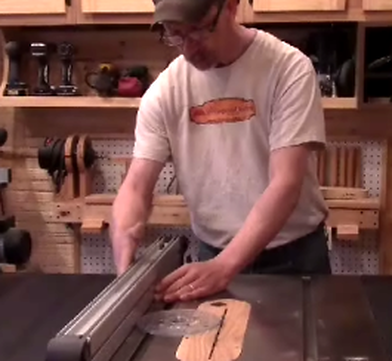
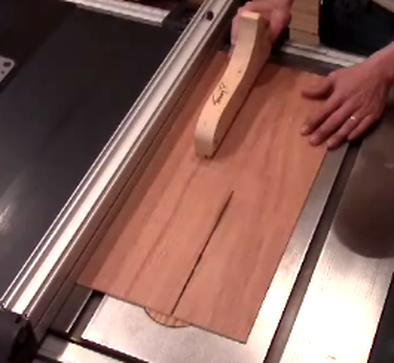
For the base I used 1/4 inch thick plywood. Using the removed base plate as a guide I set the distance for the width of my cut on the table saw, by placing the router plate to the inside edge of the blade and setting my fence at the point it make contact with the plate on the opposing side and locked down my fence I then made my cut. The length of this guide can be as long or as short as you desire it to be. |
|
|
|
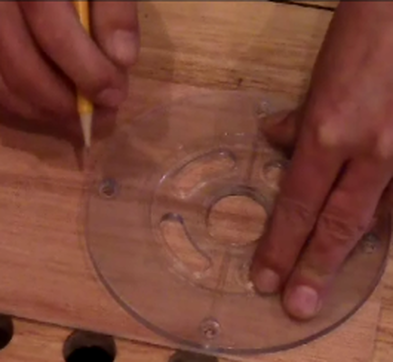
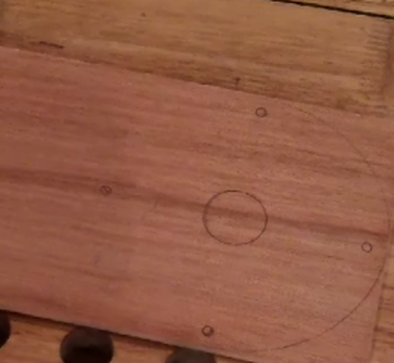
Then using the base plate as a template at one end of the 1/4 inch stock I marked the locations of the screw holes, the opening for the router bit and also traced the outer edge of the plate just to give the guide a rounded edge. |
|
|
The holes for the screws I drilled at the drill press as well as the opening for the router bit, I did use a fostner bit for the router bit hole.
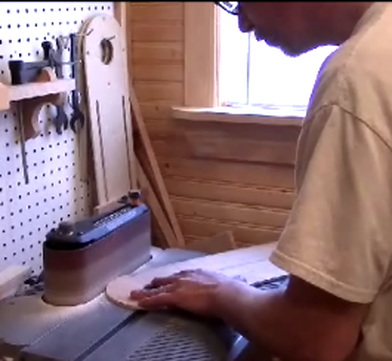
With all the holes drilled I rounded this end of the base using my bandsaw I then cleaned it up at the belt sander.
note : the holes for the screws need to have a counter sink so that when installed the screws will sit beneath the surface as to allow the guide to slide free of restriction and also avoid marking the surface of the project being worked on.
|
|
|
|
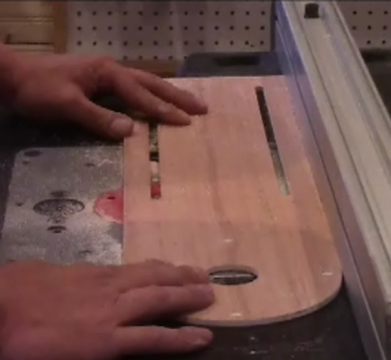
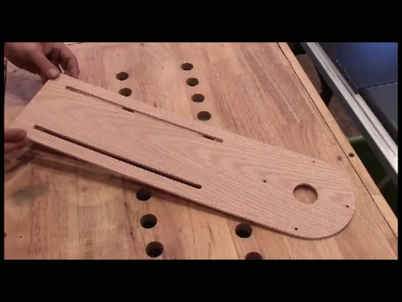
The last thing I needed to do with the base was to create two slots for the fence of this jig. These slots will be used to adjust the fence, allowing the guide to be used at different lengths. |

|
|
|
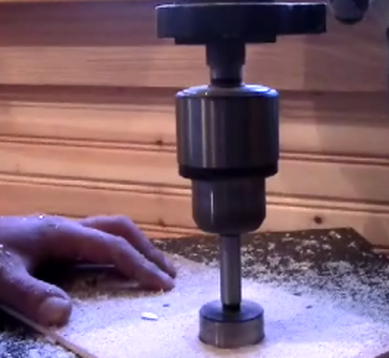
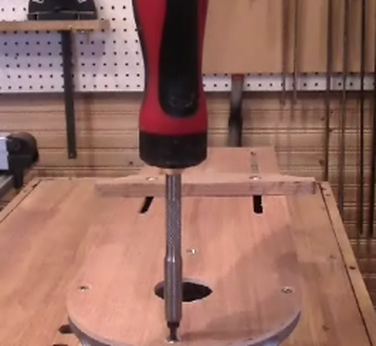
I created these slots at the router table using a straight bit and removing a little bit of material with each pass until I was all of the way through. |
|
|
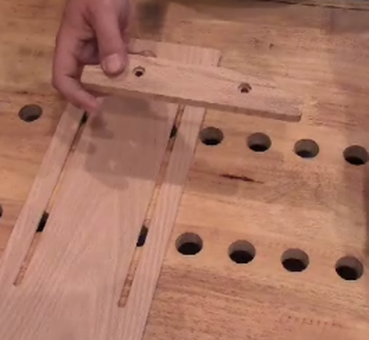
The fence for the guide is the easiest part of this build to create. I made this one from a piece of 1/2 inch thick Oak. It requires two holes to be drilled that line up directly with the two slots in the base of the guide. |
|
|
|
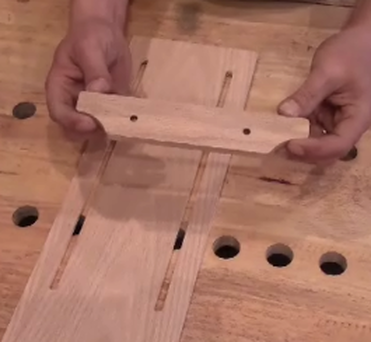
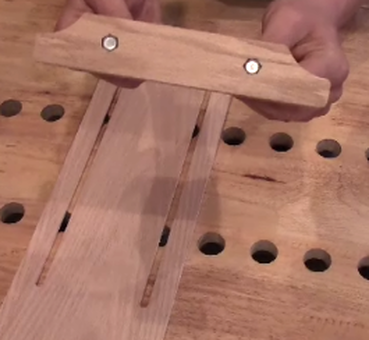
The fence attaches with two bolts, the head of both these bolts I recessed into the fence. I did this by setting the bolt into the hole then tracing the head of it with a pencil, once my line was established I removing the waste up to the pencil lines with a chisel. |
|
|
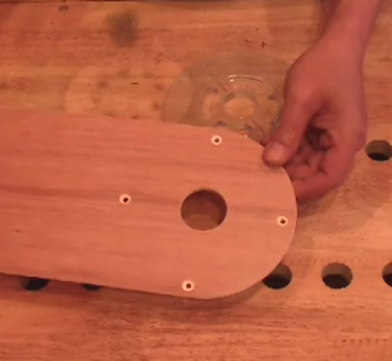
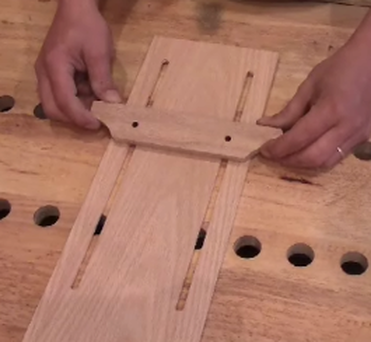
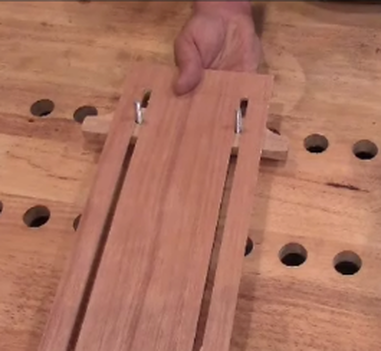
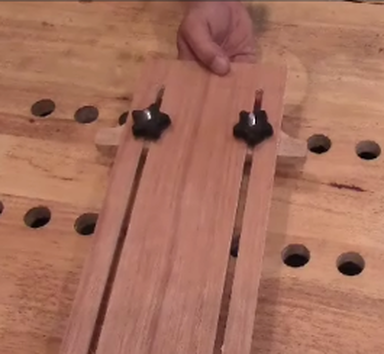
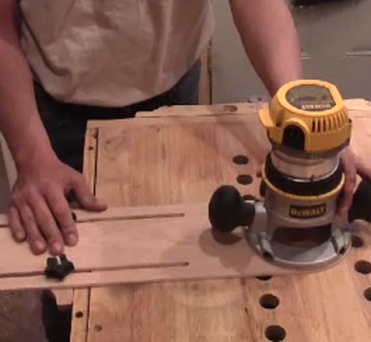
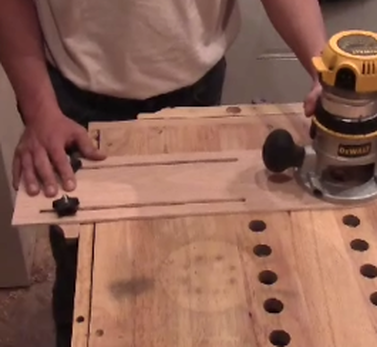
The fence attaches to the base of the guide as shown . With the two bolts installed in the fence they are inserted through the slots in the base, then a washer and last the knob is screwed on.
|

|
|
|
The guide is screwed to the base of the router in place of the base plate using the screws that originally held the base plate to the router.. |
|
|
|
Using the guide is easy. Just set the fence to the desired distance then tighten the knobs |
|
|

