- HOW TO MAKE A SERVING TRAY -
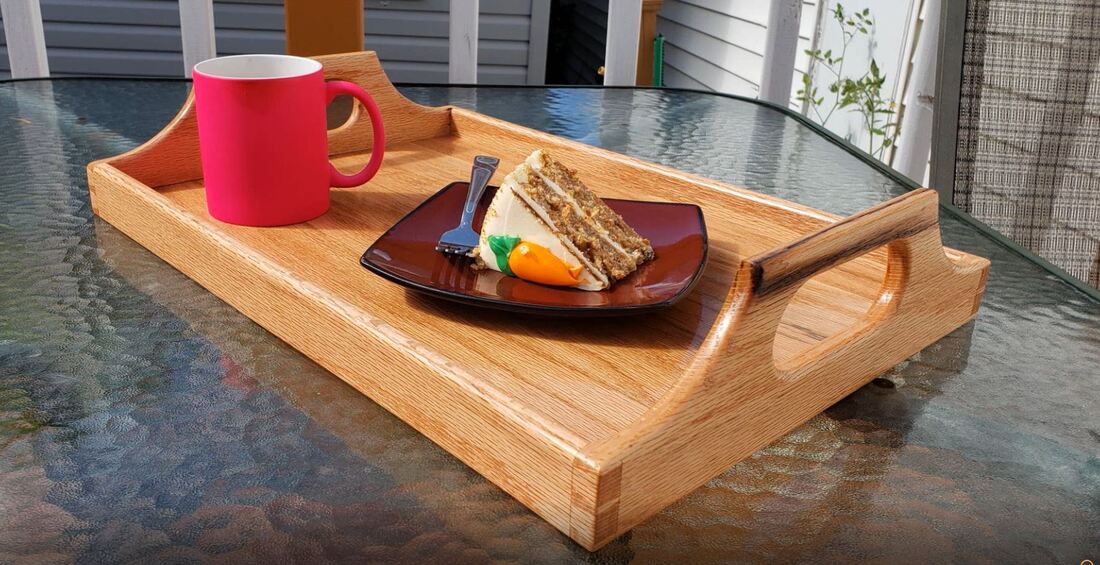
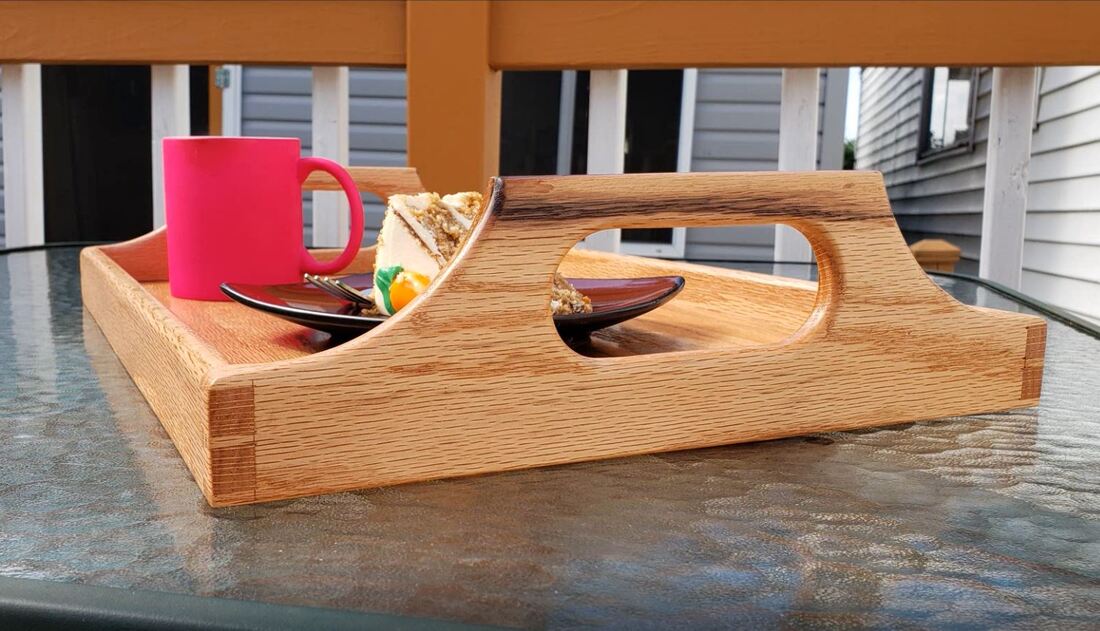
The final size of the tray came to 19 inches long by 13 inches wide, with the sides being 1 1/2 inches tall over the 19 inch length and 3 3/4 of a inch tall at the ends. All the sides of the tray are 1/2 of a inch thick, and the bottom of the tray is a 1/4 of a inch thick panel. You can go to your local box store and purchase the lumber needed for building this tray.
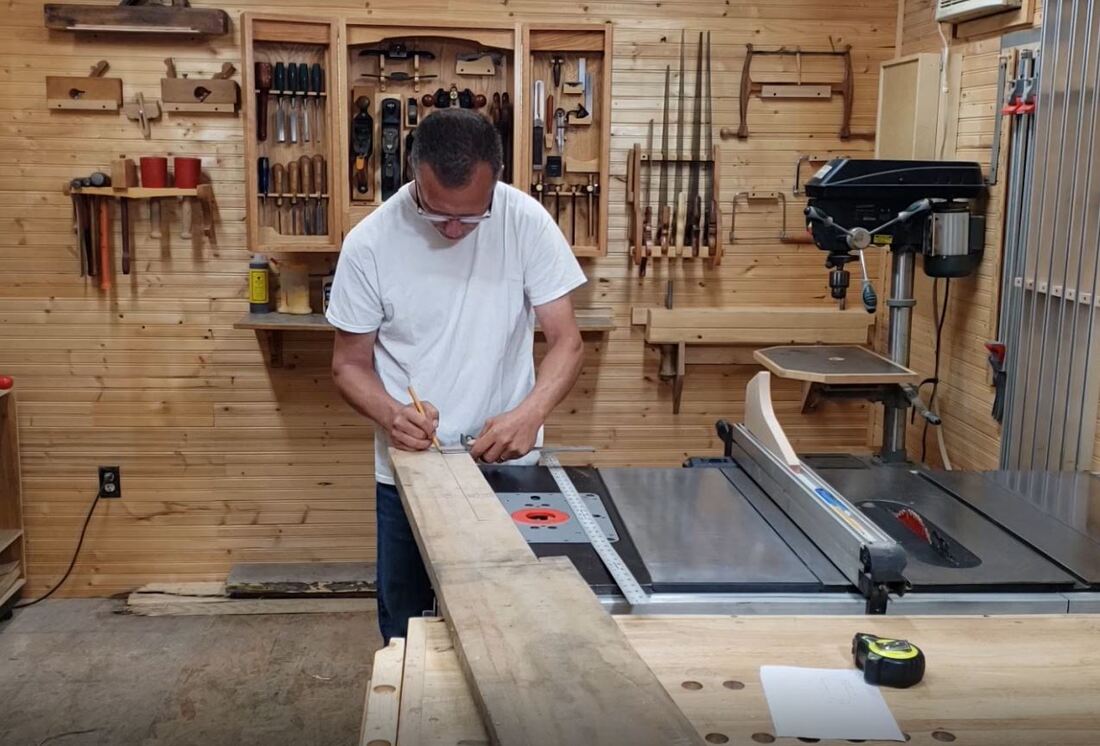
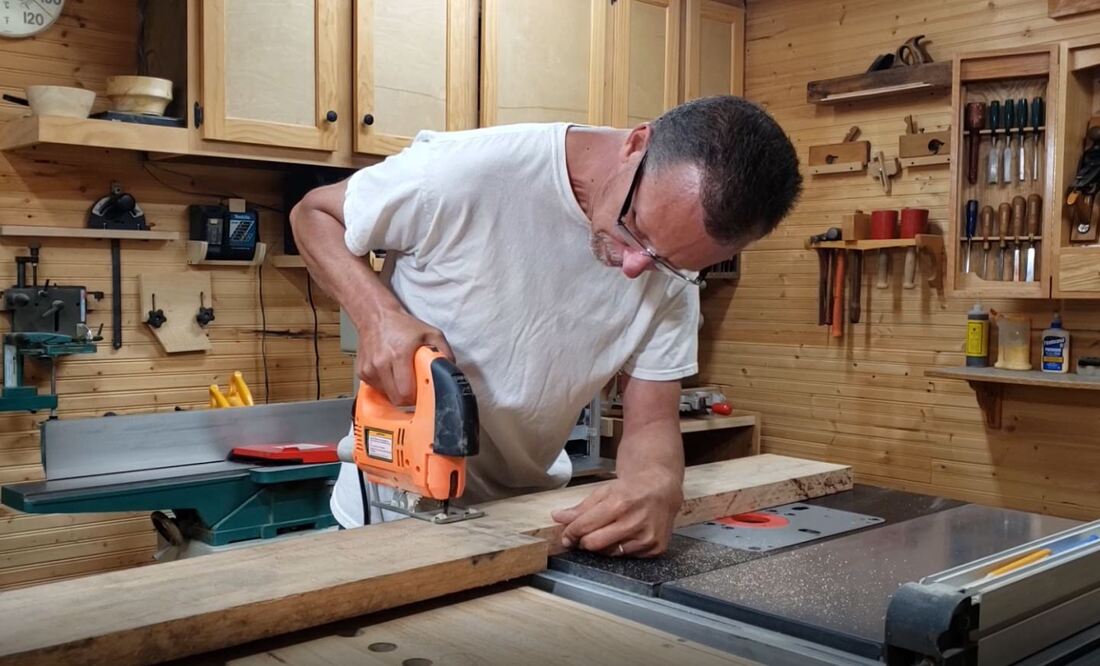
For this project I started out with rough sawn oak. First by laying out all my part that will make up the pieces of the tray, then rough cutting them out with my jig saw.
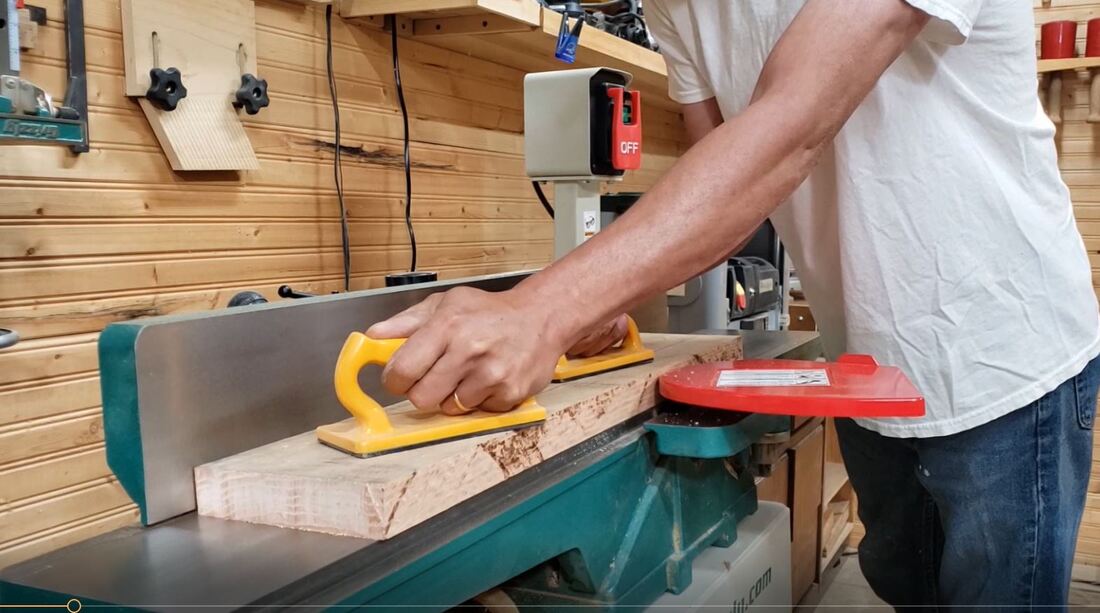
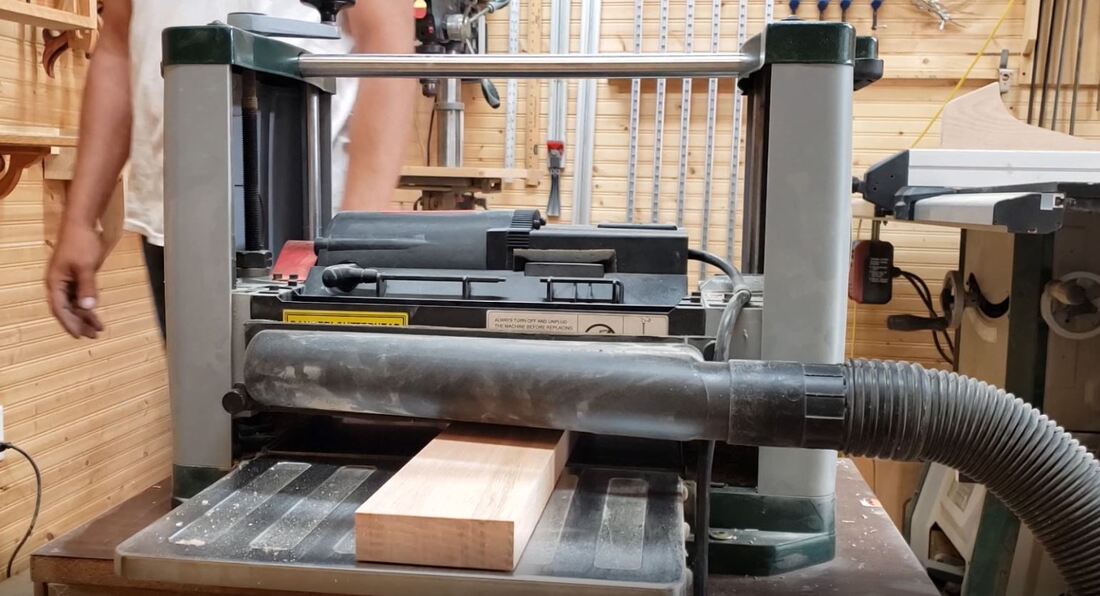
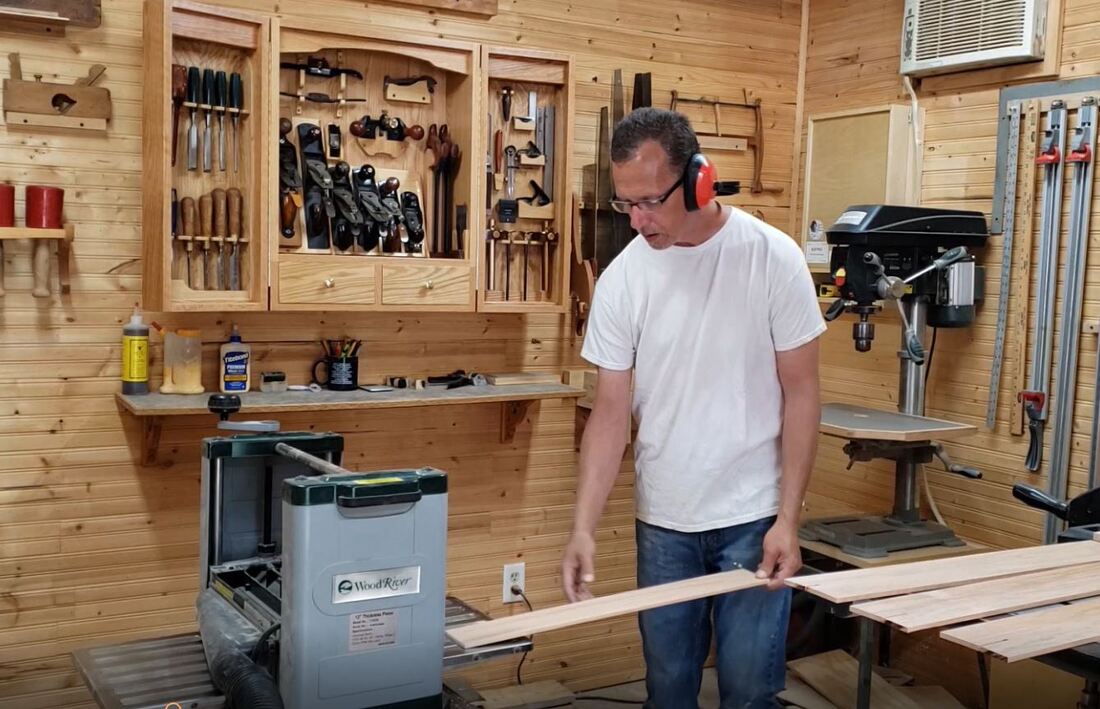
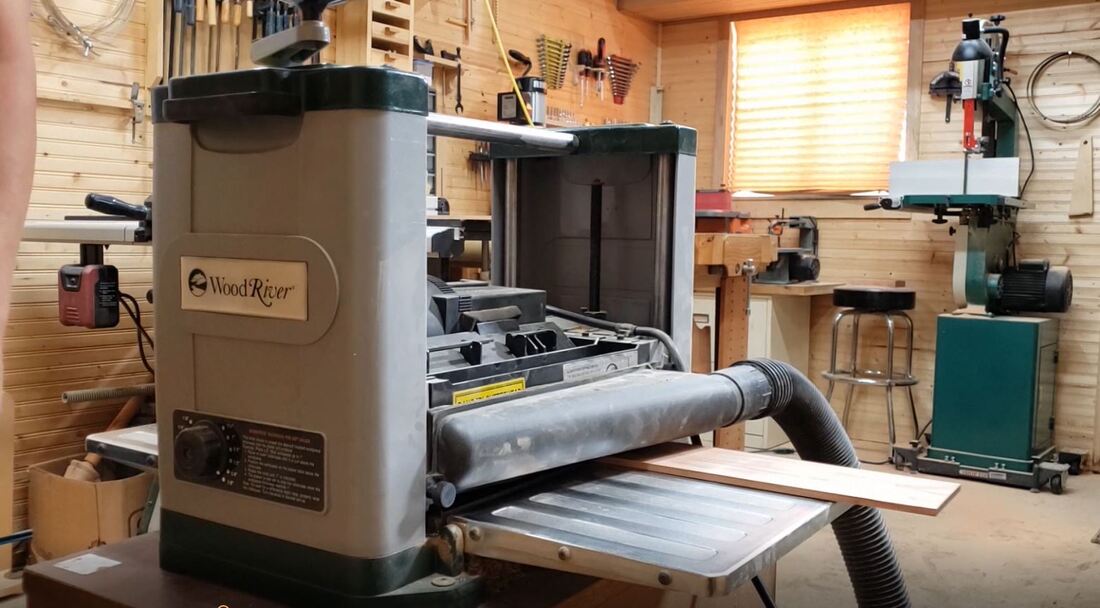
Then using my joiner and thickness planer to bring my stock to a dimensional size.
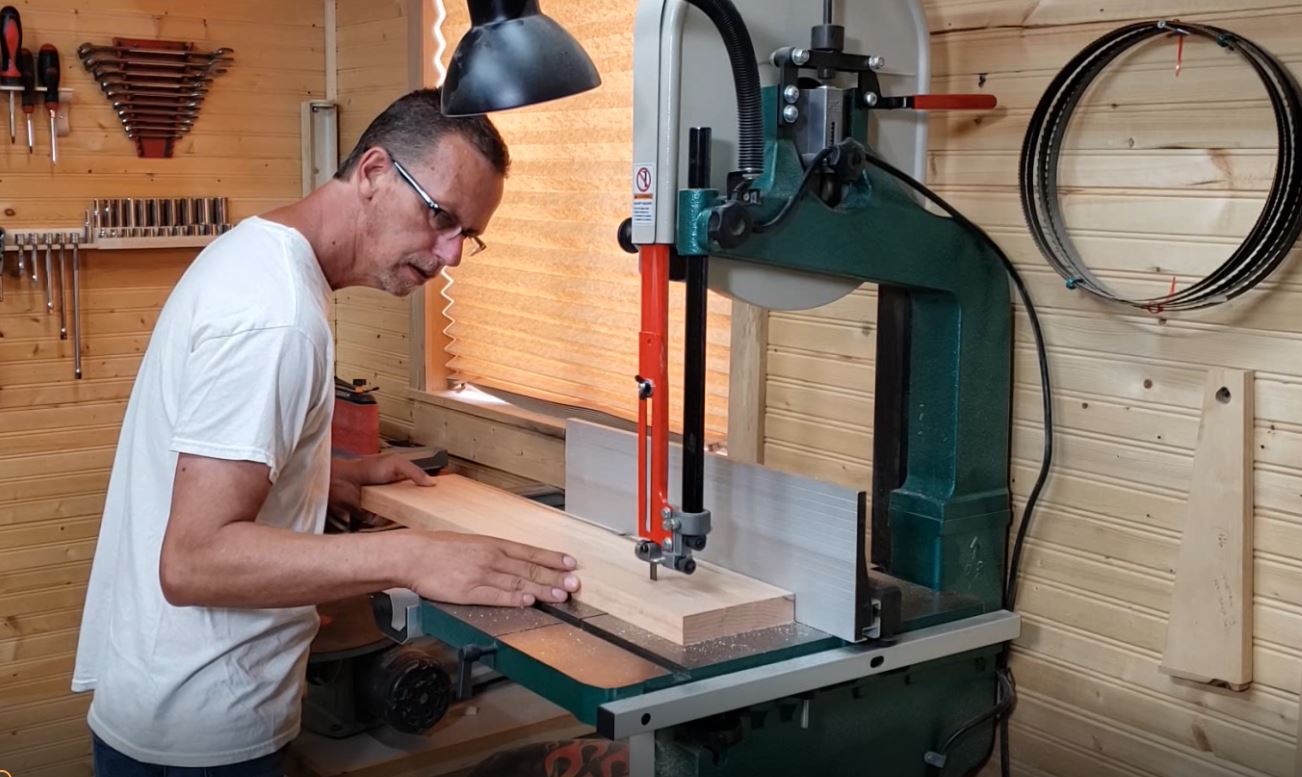
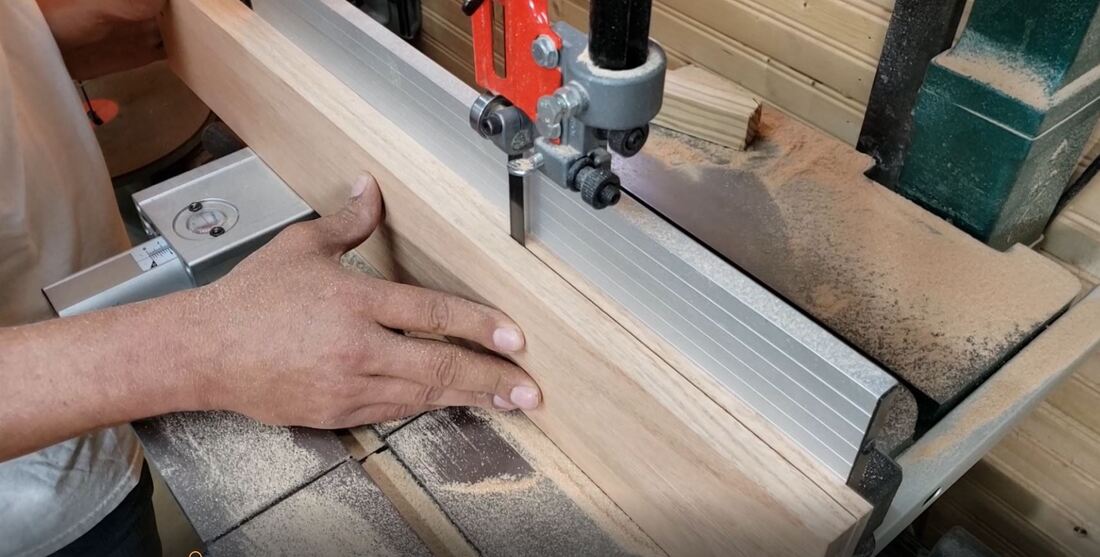
Once finished at the thickness planer I used my band saw to break down my stock to size. Cutting out the 1 and a 1/2 inch rails that will make up the sides of the tray and the 3 and 3/4 inch rails for the ends. Then resawing the rails to just over a 1/2 inch thickness and resawing the stock that will make up the bottom panel of the tray to just over a 1/4 of a inch.
Then it was back to my thickness planner to bring all my stock to final thickness.
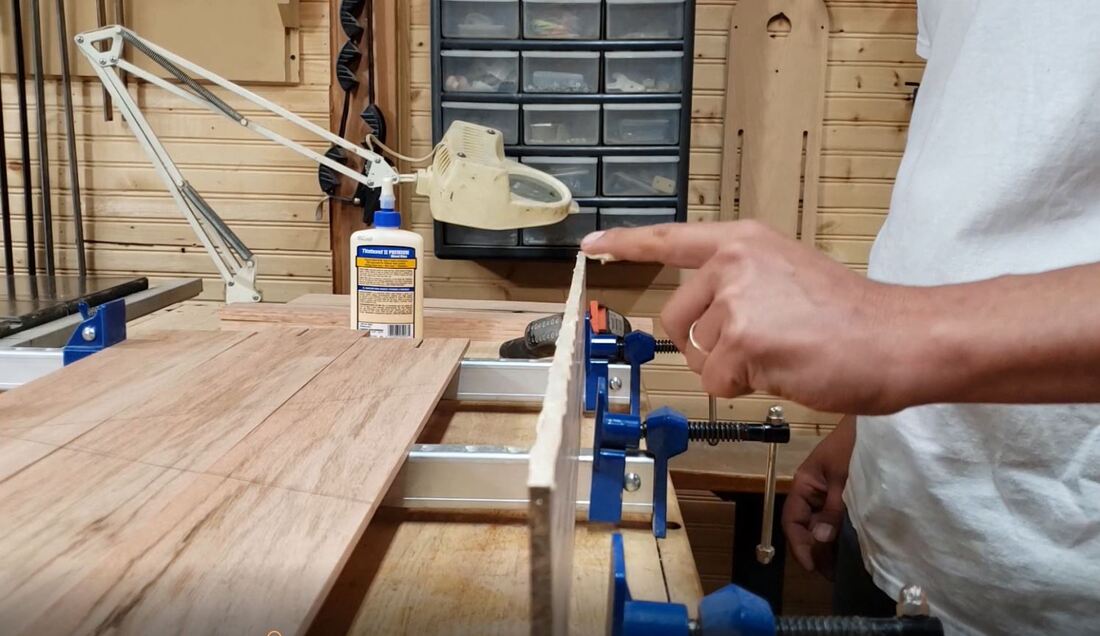
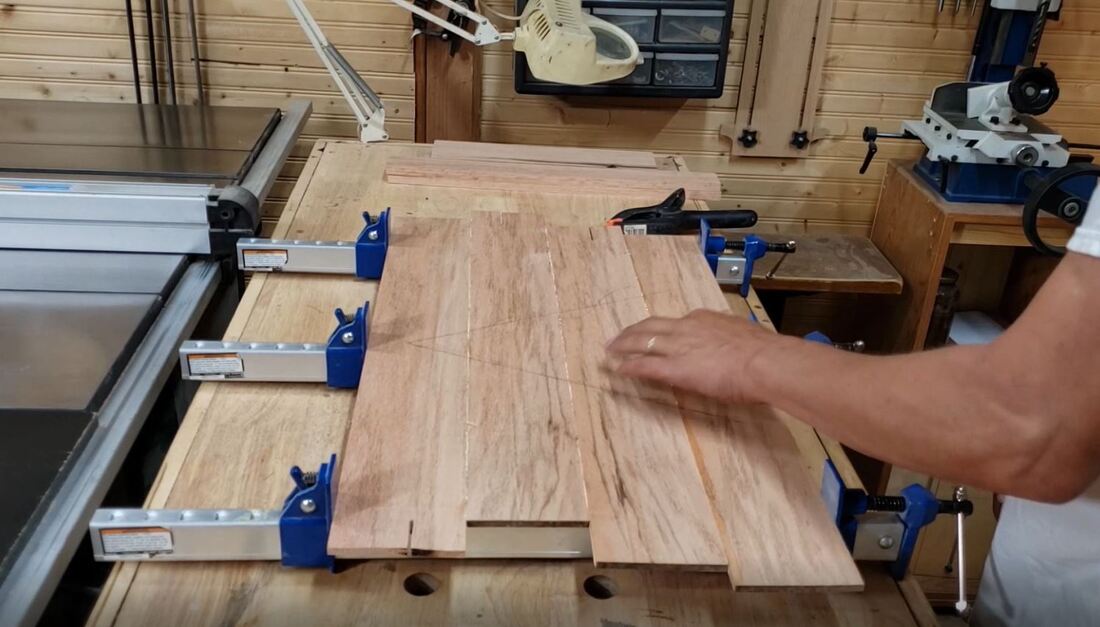
With my stock at final dimension I glued up the bottom panel for the tray.
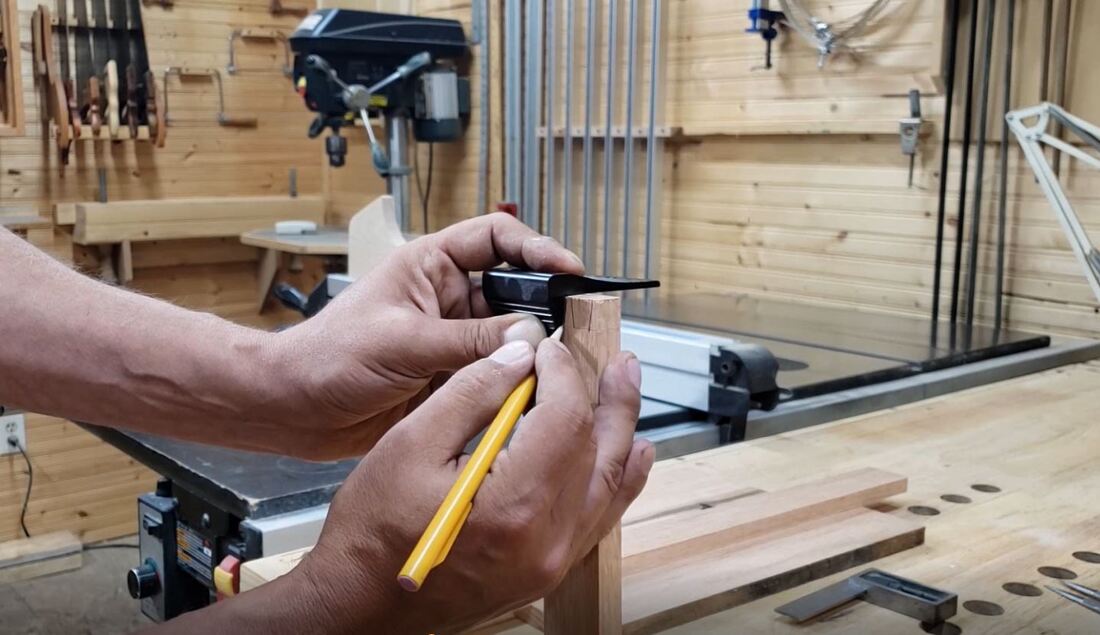
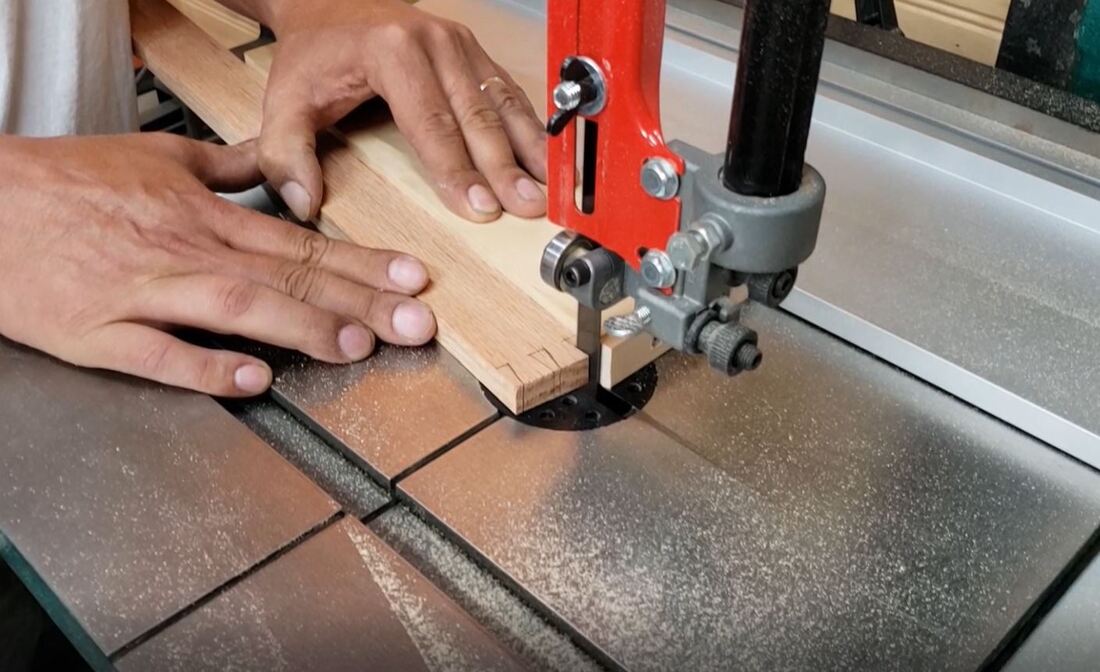
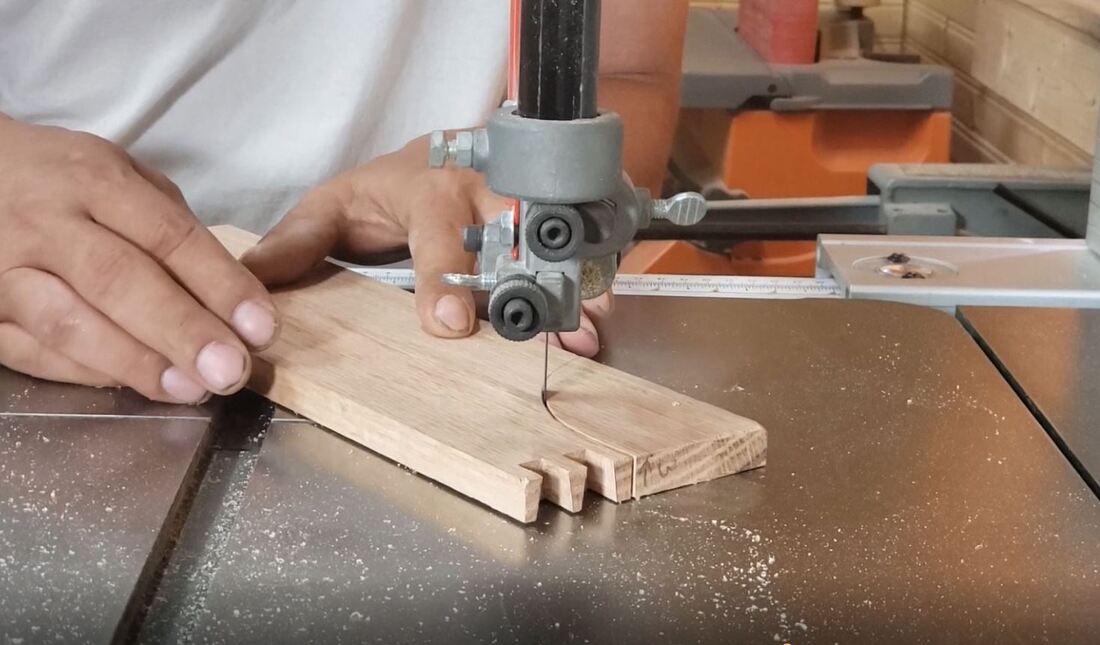
Now was decision time, how was I going to assemble the sides of this tray. Box joints, dowels, miters, even screws is an idea, and if you are building this do what ever is easiest for you. I decided to do dovetails, I started out by laying them out and then cutting them at my bandsaw.
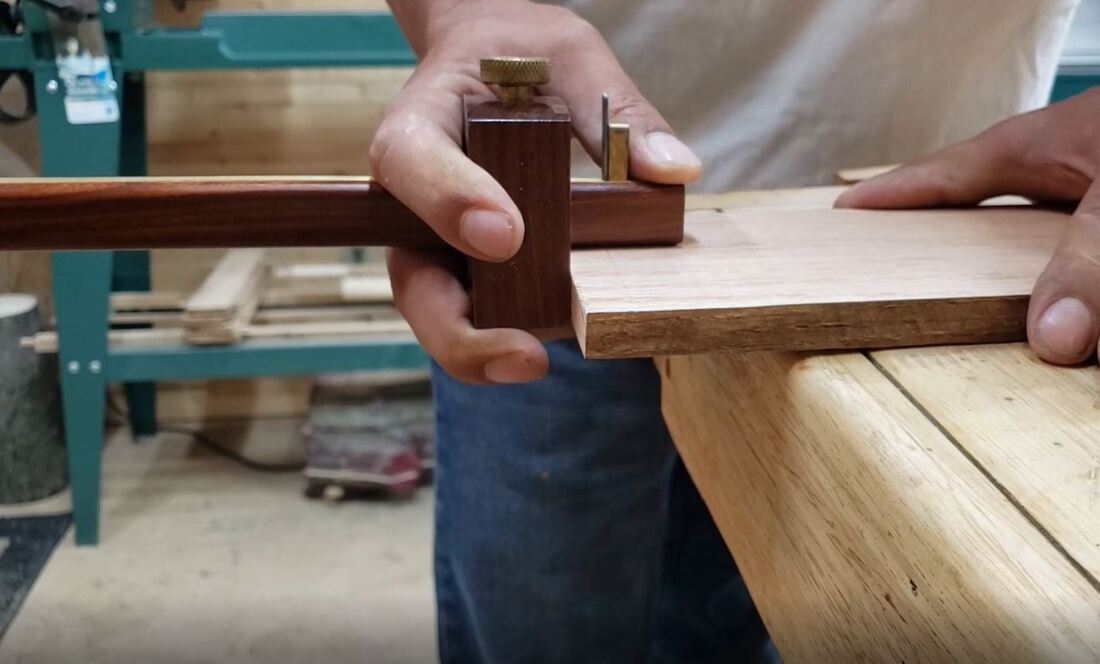
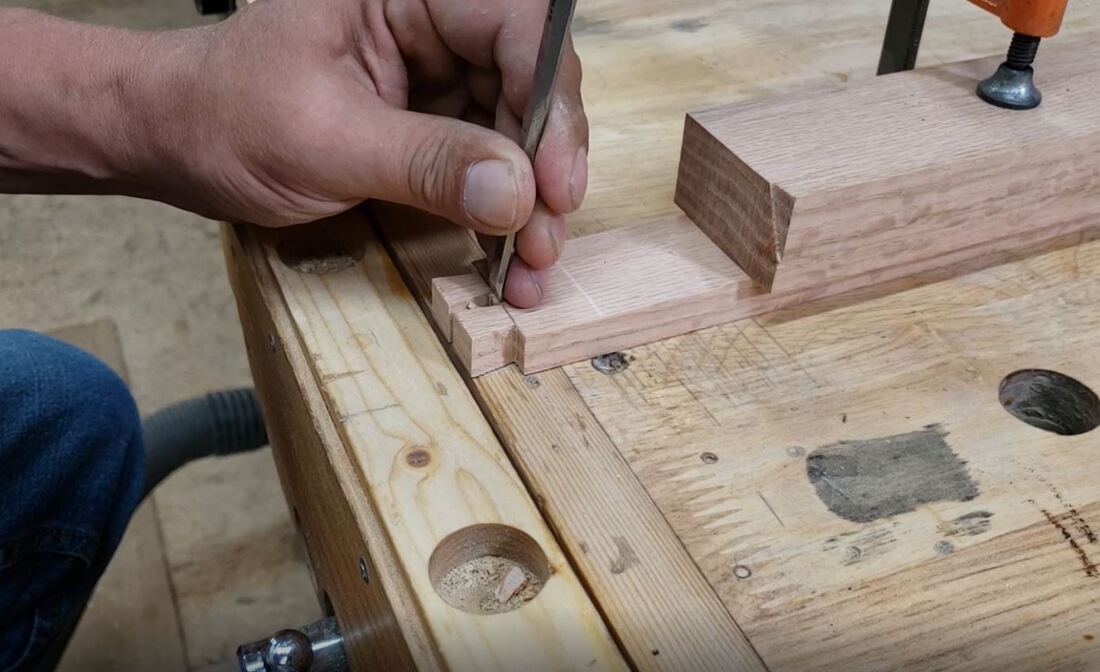
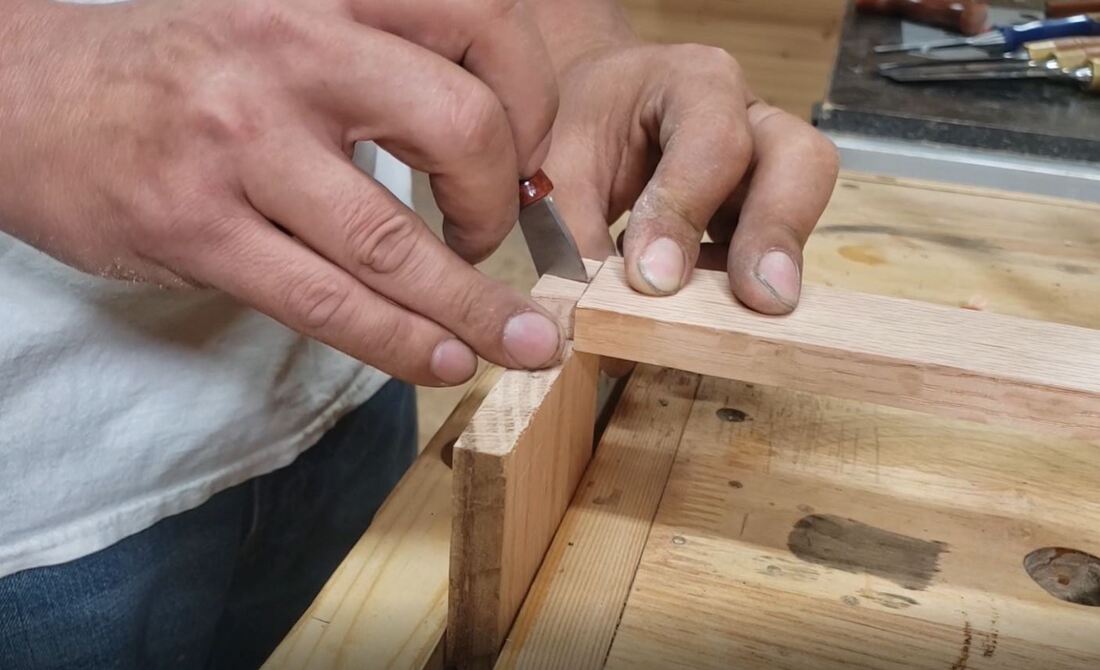
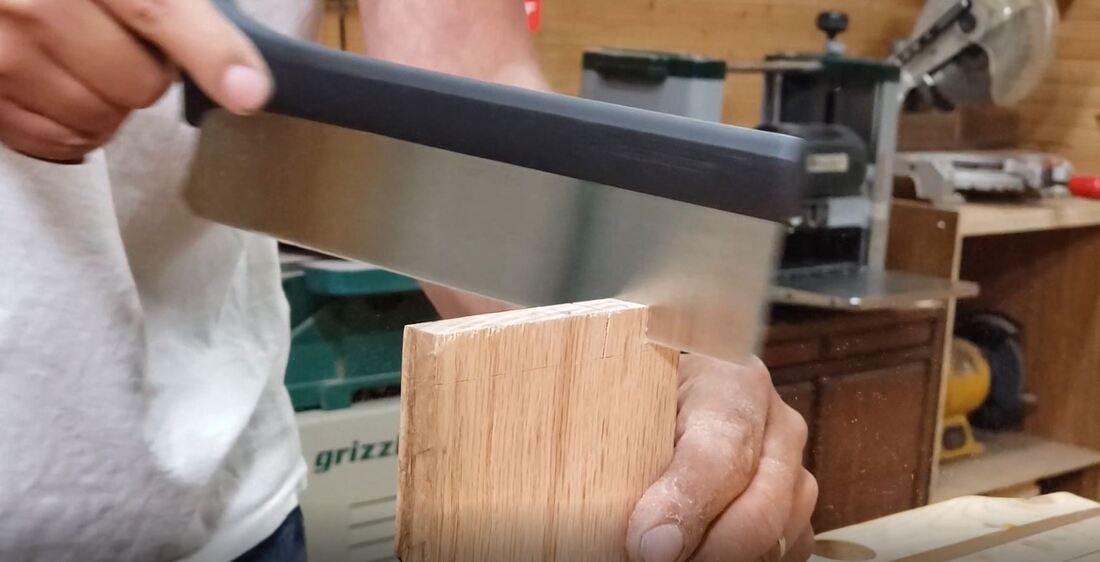
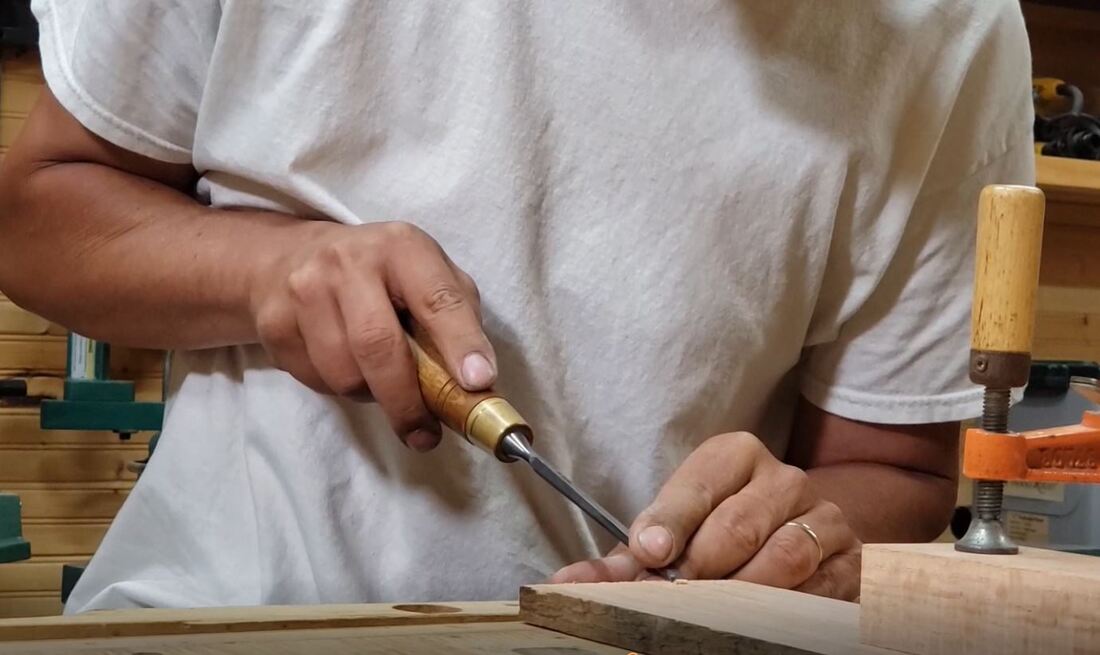
After cleaning out the waste with my chisel I transferred my lines with my marking knife and made my second cuts by hand.
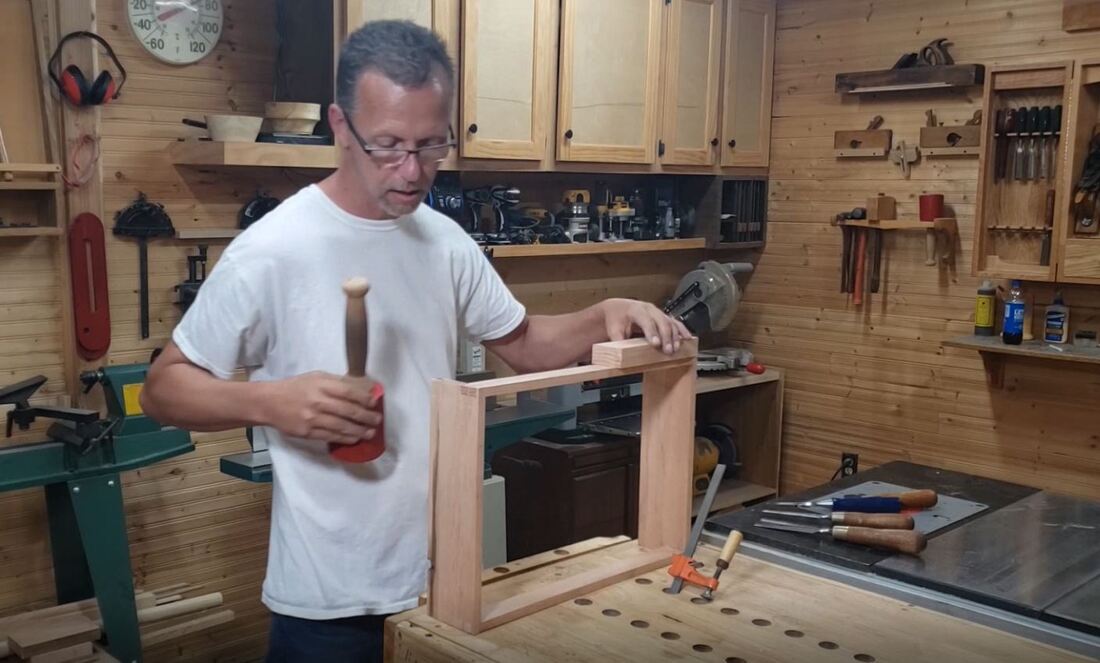
With the remaining waist material removed I did a test fit, and everything went together good.
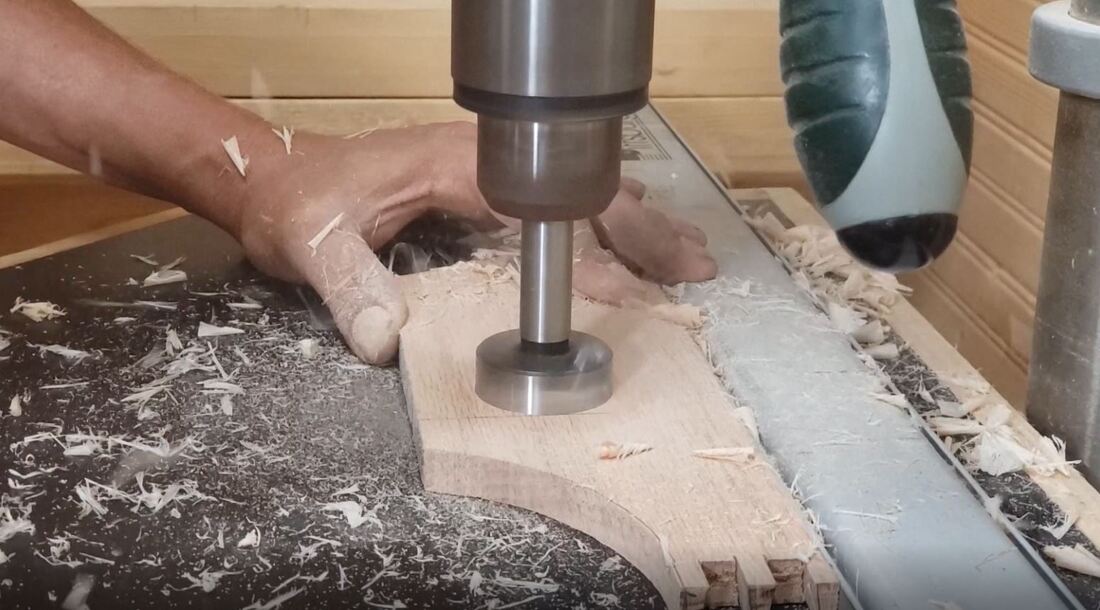
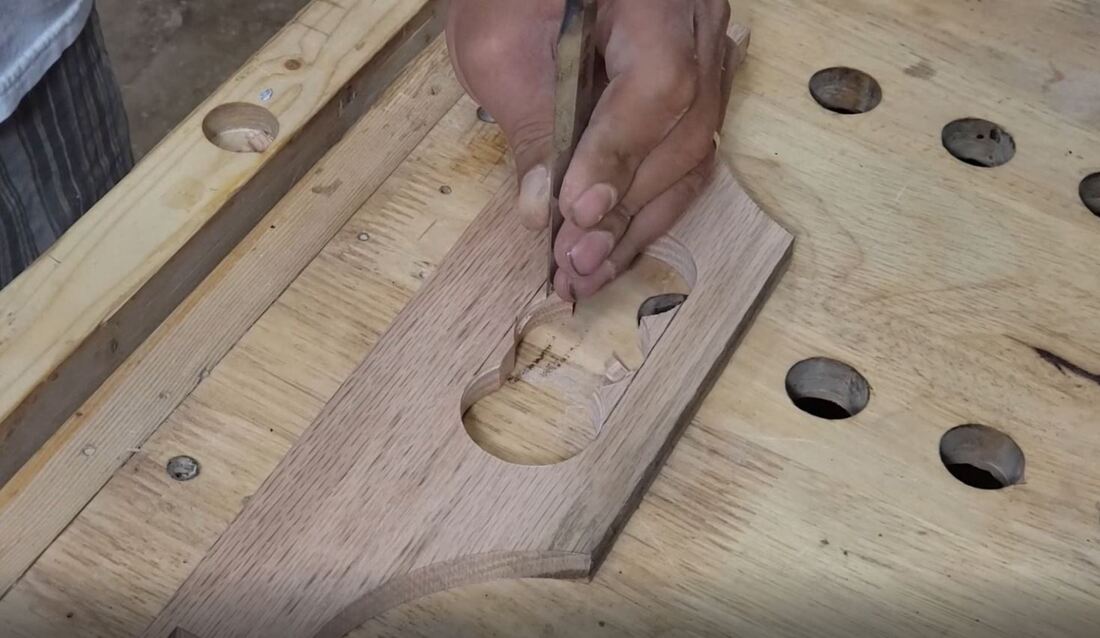
I still had a few things to do before I could glue it up. I took the tray back apart and first with my band saw I cut a decorative arch in the ends for the handles, Then using a fostner bit in my drill press I drilled a series of hole cleaning up the waist in between them with a chisel to create my handles at both ends of the tray.
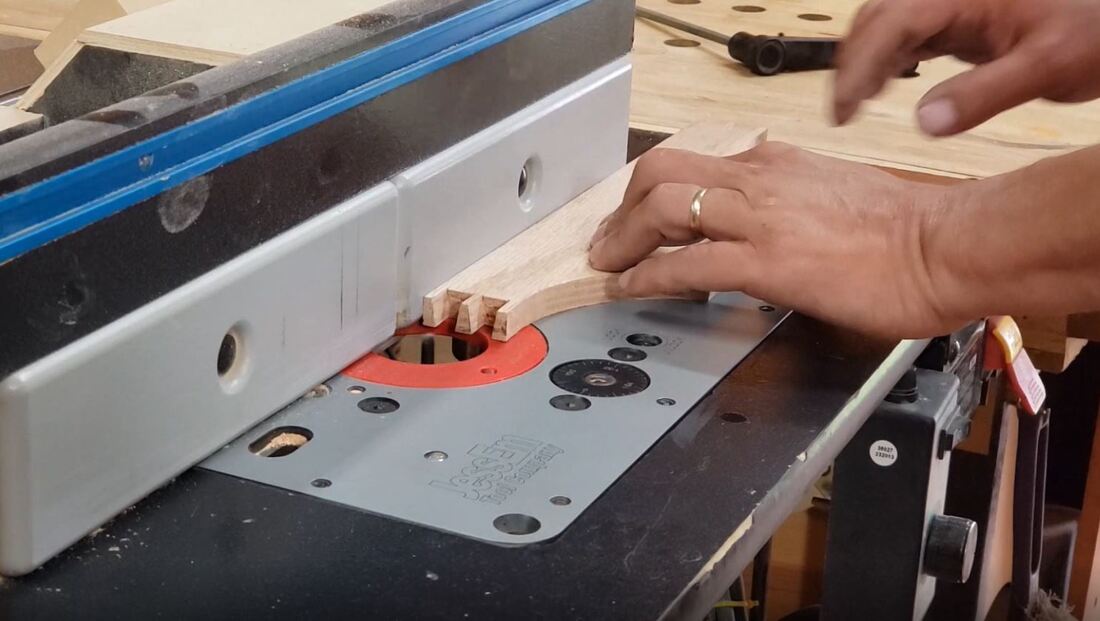
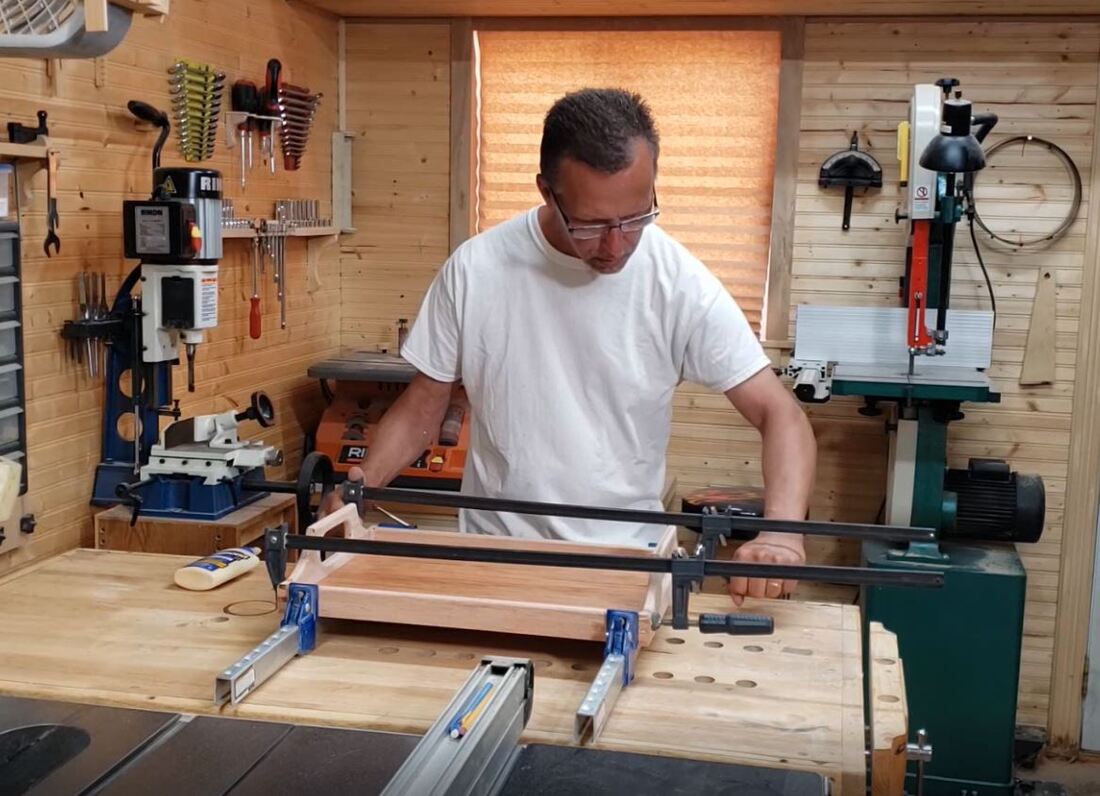
The last thing to do before glue up was to cut a groove to accept the bottom insert panel for the tray, I did this at my router table using a 1/4 inch up spiral bit. With that done I cut the panel to fit and was able to glue the tray together.
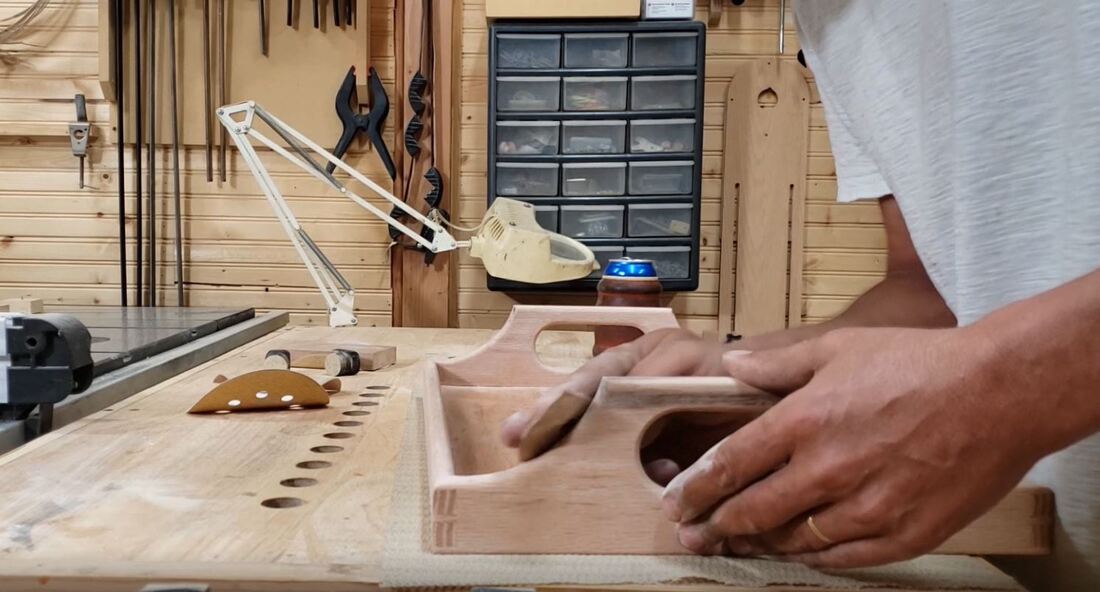
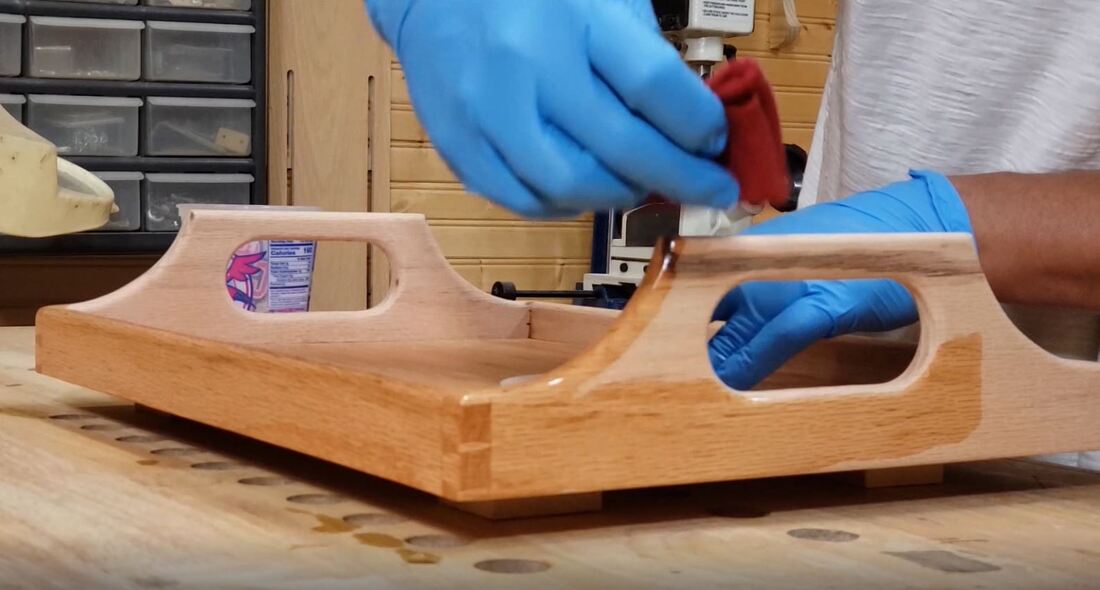
The next morning after the glue was dry I finished my sanding and was able to apply the finish.
I'm really happy with how this turned out and I'm sure this will be a very useful item in my house for a lot of years to come. Take the time and make a serving tray they're great for your grilling and cooking activities, and don't be intimidated by the joinery make it how ever is easiest for you just build something awesome.
