 If you want to learn how to do something, we have the internet. Are you looking for a new cookie receipt or how to fix that broken thing ? Or maybe it's how to build that project you're excited to undertake, the internet is the go to vault of information. Recently I was asked who I watch or follow in the woodworking / maker community, and while I understand the question and the curiosity behind it I also think it creates a king of the hill effect. You are basically stating that this person is better then all, and I have always found this to be bothersome when I see articles or videos about the top ten woodworkers or the best makers to watch or follow. My honest answer to this question is I enjoy everyone, and watch or follow as many people as I can. Especially in social media platforms like YouTube where it has grown to be a huge melting pot of creation and ideas. If you want to understand this just look up how to make a coffee table, there are literally hundreds of videos with all different levels of craftsmanship and creativity and just when you think it's over a new video comes out with an even greater idea. For me personally I enjoy all video creators and content producers. I think it's the appreciation for the effort they put in it, but also the creativity and craftsmanship they share with all of us that makes me appreciate and enjoy everyone that contributes to this community. 
0 Comments
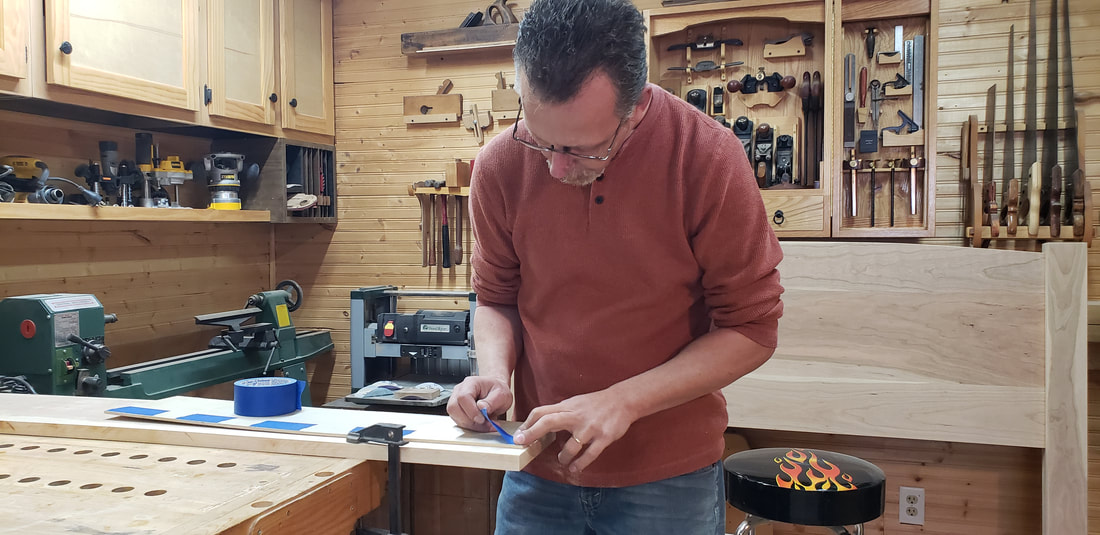
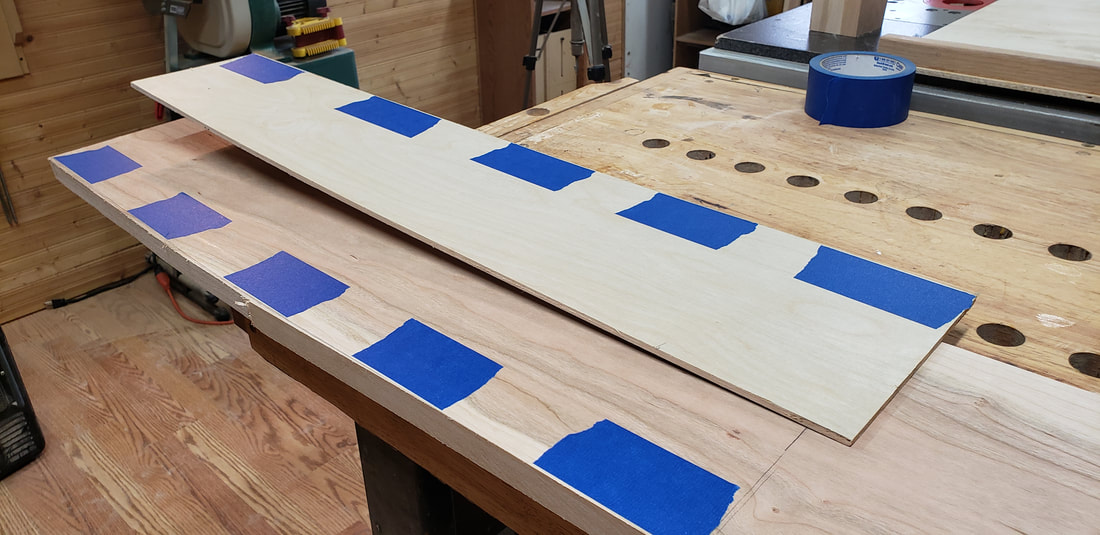
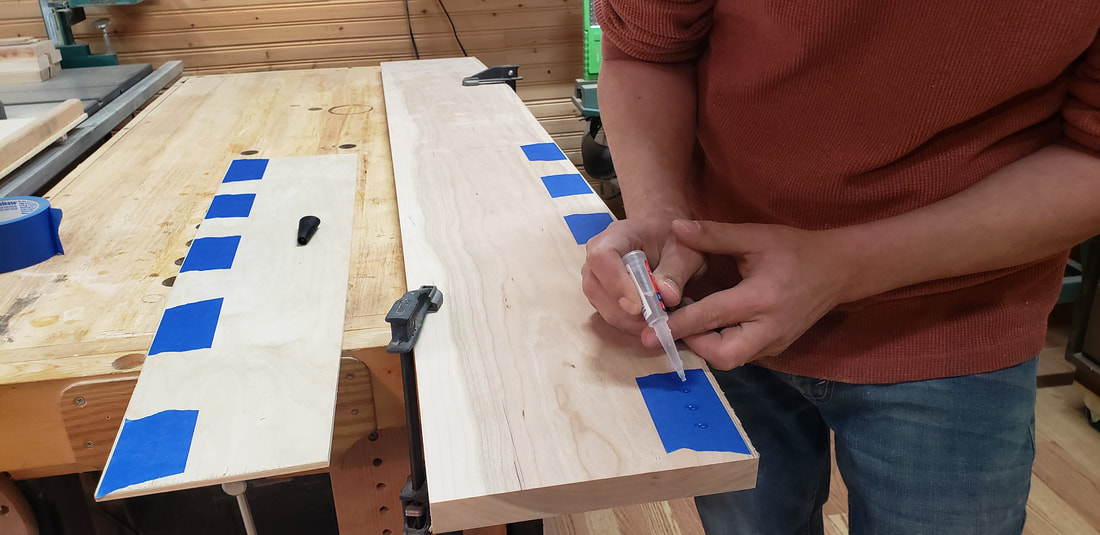
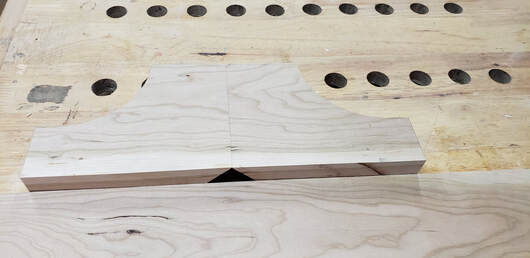
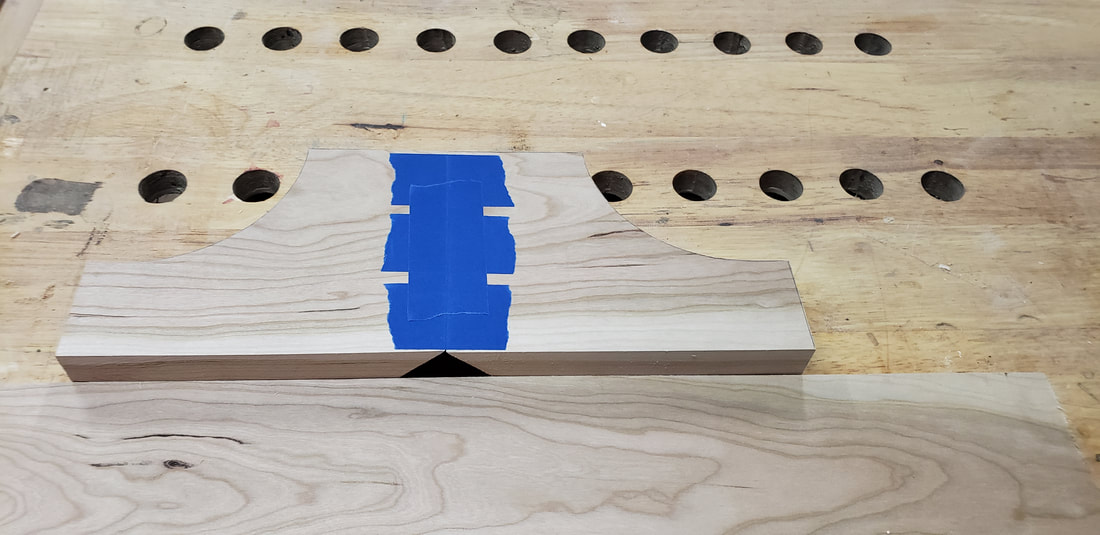
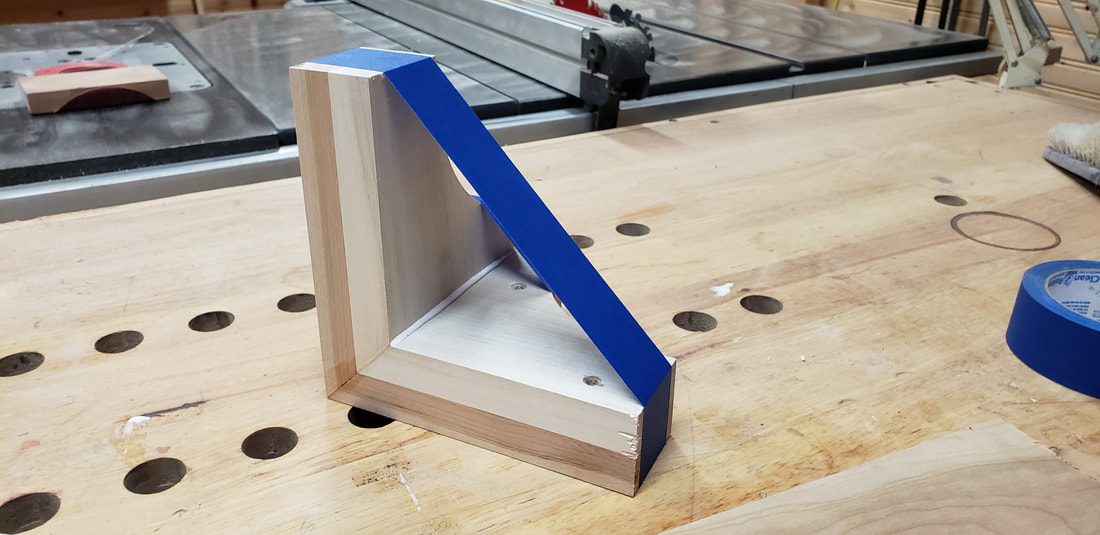
 With the holiday season upon us we find ourselves seeing all kinds of sales, and for a woodworker we look forward to this time of the year. A chance to stock up on things, or maybe it's that new tool purchase we just can't pass up on because the deal is too good. It's easy to know what you do or do not want, and we always know the make, model and even the color of it if there's ever the option for that. But if you're not a woodworker it can be a challenge to buy a gift for someone who is, and in searching the internet for ideas there plenty to be had. From the ever famous top ten must have tools, to the always insightful what the pro use. But the reality of these lists is that while they may have good intent, no two people work the same way so a good tool for one person might be the worst for another. But shopping for a woodworker can be easy, because there are a couple of things we all need that are inexpensive and we're always happy to get. The first one that come to mind is glue, stop by your local box store and grab a bottle of Tite Bond. Get the blue bottle, and trust me it will get used. Another great option is acid brushes. You can buy these in bulk from places like amazon for just a few dollars, and they work great for spreading glue with. For my final pick I'll have to go with sandpaper. You can buy this in multiple sheet packs, and if you get two twenty grit you have a paper they will certainly use. Now these may seem like really cheap gift ideas, and you might be right in the sense of the cost. But the truth is if you feel this way about giving any one of these as gift to a woodworker, then give them all three and you be giving them quite possible their most useful gift this year.   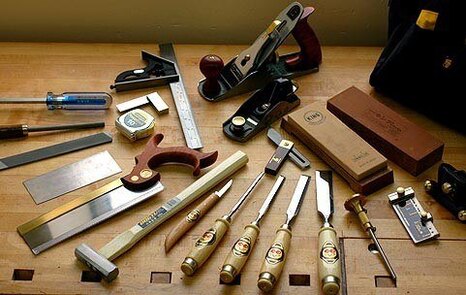 So the time has come, you've convinced yourself that you can build it. The it being that project that screams you can do this. For the person who has never built anything before and finds themselves in this situation chances are fairly high that the tools they own are limited if any all. So with a google search of " What tools do I need to start woodworking " there it is, a vault of endless input. From buy this to get that and the ever famous top 10 must have lists, to say it's confusing is a serious understatement and then there are the brand names. Honestly it can give you a headache and stress your pocket book to a whole new level, just for a hobby you have an interest in. To get started with woodworking the answer to what tools you need really falls on what project you are planning on building, because all you need right now are the tools to build that project. So the question to ask yourself should not be what tools you need for woodworking but rather what tools do I need to build this one thing. By growing your tool collection with each project you build, over time you will ensure that you have everything you need for what you build and the way you work. Because honestly every woodworker approaches things their own way, making it hard for someone who does not even know you to advise you on what need or should buy. The only other thing to realize is that you don't need to break your bank account with each purchase, because as nice as that new table saw or miter saw might be, a good hand saw works just as well and you can always upgrade later. Just look at your current project and think, what do I need to build this and start there.   What is a good first woodworking project ? A great question and honestly the best project to start out with is the first one you build. A bird house, a box, or maybe an end table, it really doesn't matter where you start it only matters that you start. I have never bought into the idea that you have to build this or do that when you start woodworking because the best teacher has always been hands on, so your craft will evolve with the projects you build. And in ten years both your knowledge and skill will be greater then today. But as you go through this progression of projects always try to push yourself to do something that will test your abilities, a new joinery technique, a different finish, or maybe a string inlay, it doesn't matter just believe you can. Always believe it and apply it and this is how you grow as a woodworker. It's more a matter of guidance when you are first starting out, and in this day and age you can find good free project plans online, just stay to sites that are reputable like Fine Woodworking, or Popular woodworking for example. These are all great sources for detailed plans. Places like Youtube I think are bad for a beginner, and before you get upset hear me out. While there are creators there who get it right and you should listen to them, there is also a lot of misinformation that is scary at best. And when you are just starting to learn you really don't know who to listen to, making it easy to be misguided. So I would avoid social media places like this, or any google search that claims to have an abundance of free woodworking plans with titles like Ted's for example. The best advise I can pass on to anyone who just starting out is one word, " Patience ". Because without it that's when you make mistakes and or find yourself doing things that are subpar. Don't rush it, so what if it takes you longer then the other guy. Most master pieces weren't built over night.  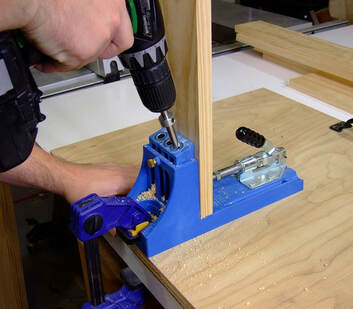 Pocket hole or traditional joinery is one of the few subjects in woodworking that can get some of the most mellow mannered woodworkers into serious debates, and it is something I do get asked about now and then. Always looking to avoid the debate that will certainly follow I have become really good at just avoiding the question over the years. But after giving it some thought I felt it was time to share my thoughts on the subject, whatever they might be worth. Now I'm not writing this as some sort of bible all who woodwork must kneel before, it's nothing more than my personal opinion and as such you have the right to disagree with me it is a free world. The only problem I see with pocket screws really falls on one factor, wood movement. By nature wood expands and contracts due to changes in temperature and humidity created by seasonal changes, a pocket screw being made of metal is not effected by seasonal changes. So initially when a screw is driven in to the wood it is nice and tight, but when the wood expans from seasonal movement the hole that the screw is in expans with it and is now too big for the screw causing a loose connection resulting in a faulty joint. Is there a way to prevent this ? No. Is there a way around this ? Yes, using a plywood because plywoods are not as effected by seasonal changes. For me I build furniture and the choice of material for whatever I'm building is usually at the heart of it's beauty so I would never considering using any type of a plywood product, but it really comes down to what your motivations are with what you build. Are you looking to build something quick that does the job or are you pushing yourself to create something better than anything you have built before. With me it is always the latter never looking back at what I've done, build it once build it right then move on to hopefully build something greater. Just sharing my thoughts but for these reasons I do not use pocket screw joinery, besides it's hard to create joinery like this with pocket screws and plywood. 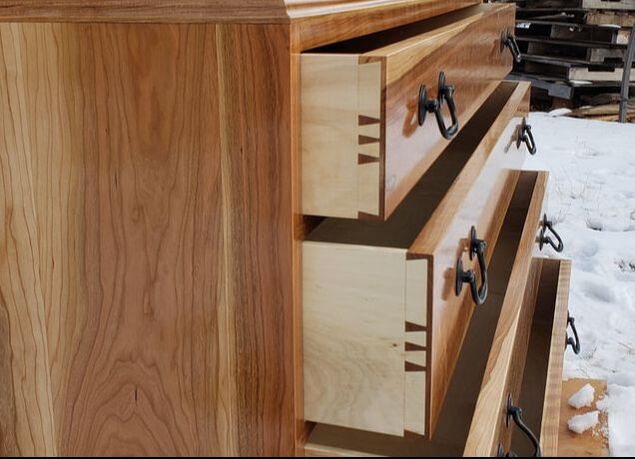   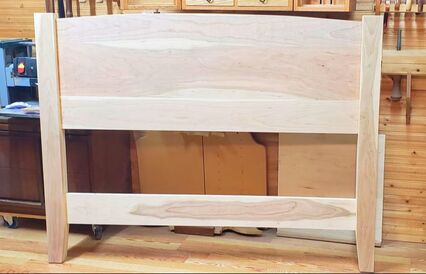 With the Linen Press done I've started on the next piece of the bedroom set, the bed frame. I really want all these pieces to co exist so in designing each of them I tried to keep the design simple, and instead put the focus on the nature beauty of the wood to give each piece it's character and with the Cherry I bought for this project it's a pretty easy thing to do. About the only real design element is a slight curve in the top of the headboard, and for a curve that spans this much distance I have always found the best way to approach this is with a template and a pattern bit in my router. A pretty straight forward technique, create your template then attach it with some double sided tape and with a pattern bit follow the template. But what if you don't have any double sided tape ? This was the problem I ran into and having been here before I already knew what to do, but it dawned on me that before someone showed me this situation would have left me in a bind. So if you ever find yourself in this situation let me show you another way that was taught to me. 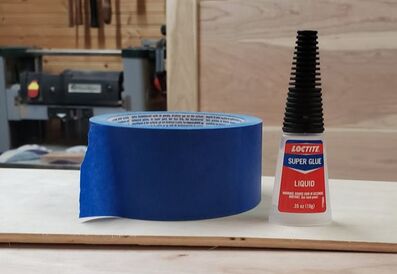 All you need is a couple of common shop items, a roll of blue painters tape and a bottle of super glue ideally the liquid type not gel.
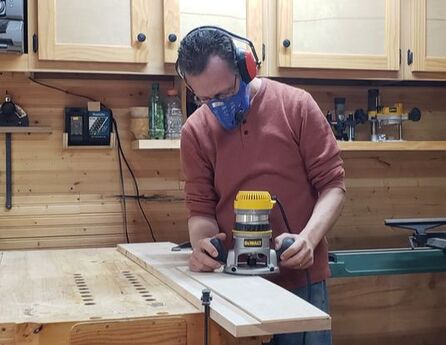 One of the biggest advantages I have found with this technique is that after you have finished routing, the template comes off without much fuss and the tape peels off easy leaving no residue behind. Now I am pretty certain that if I know about this technique you probably do too, but if you don't I hope this helps you out the next time you find yourself out of double sided tape. 
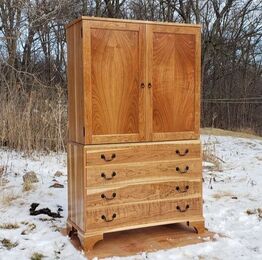
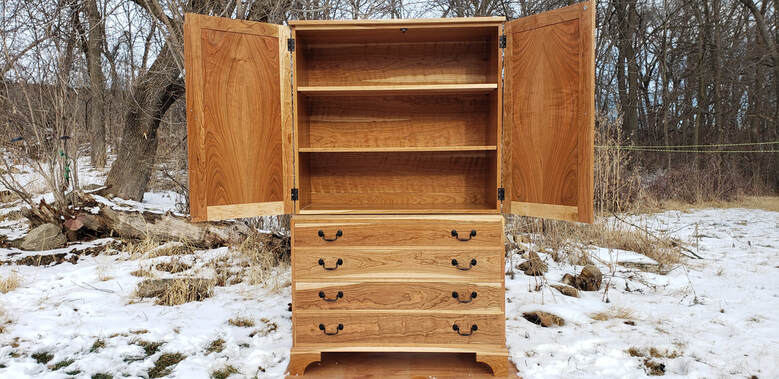
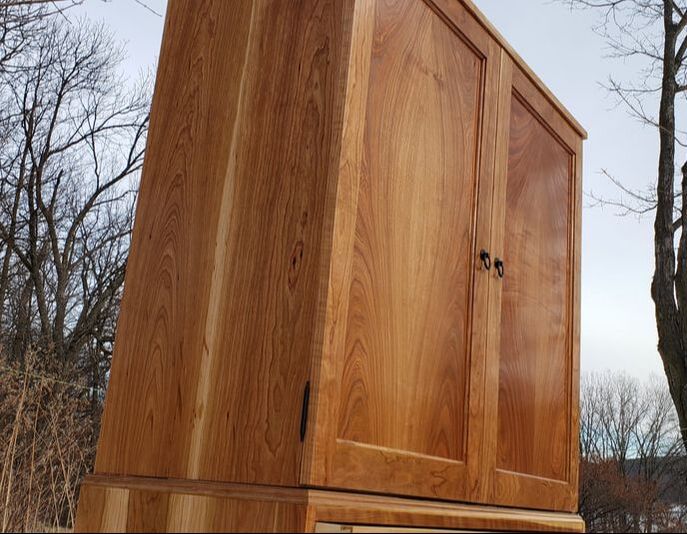
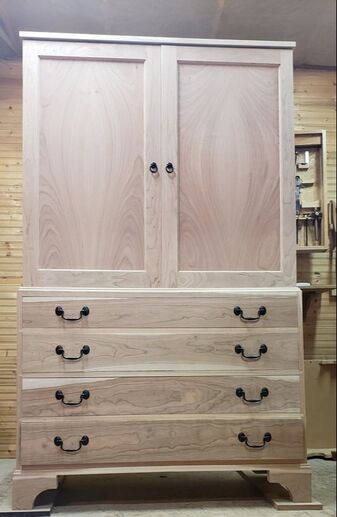
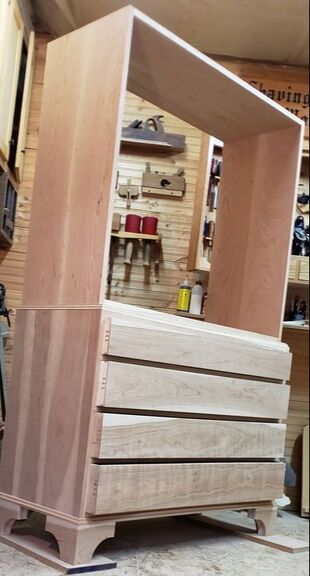
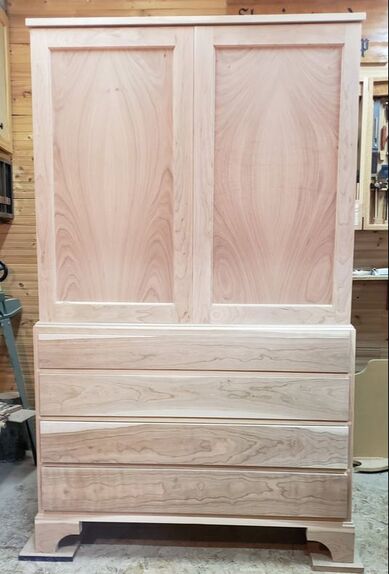
At this point I think I was almost three weeks into the finish, but the finish was finally done. Now it was just a matter of reassembling the press and few minor adjustments in the catch for the doors and I did applied some paraffin wax to the drawer runners, other then that everything went back together pretty smoothly. From start to finish it took me three weeks to do the finish for this linen press, and completely worth every second of it. Now on to the next piece of this set, the bed frame another simple design that I will let the material bring to life. 

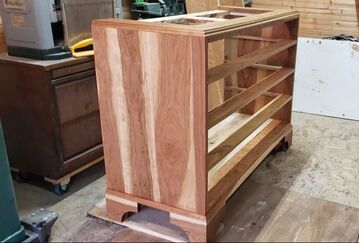
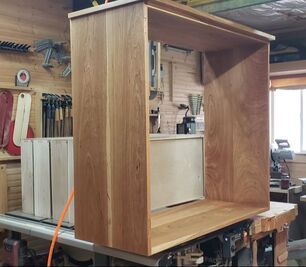
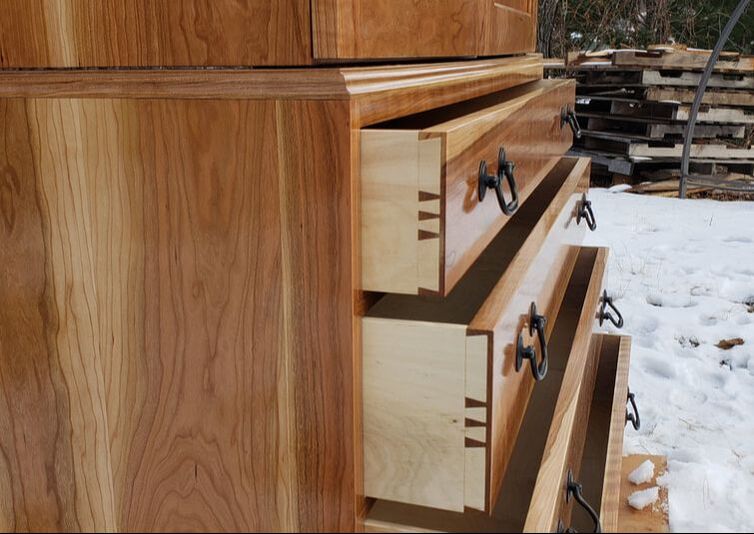
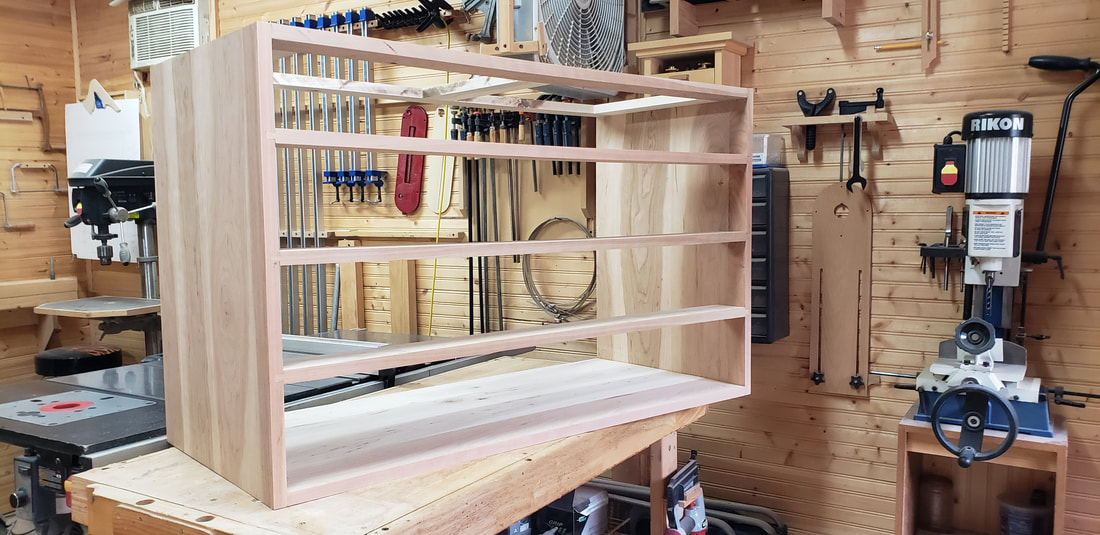
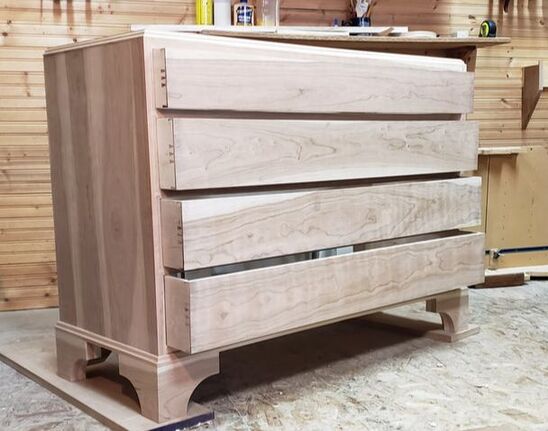
 The linen press build is under way, And for this project I choose cherry for the main material with the secondary being maple. The build started with the carcass for the lower half of the cabinet, I assembled this using half blind dovetails to connect the top and bottom with the sides, and for the frame that makes up the top I used maple with cherry for the front stretcher assembling the frame with mortise and tenon joinery. Once the carcass was together I did the drawer dividers installing them to the case with exposed dovetails, and for the runners I attached them to the drawer divider with a tenon at the front using no glue and one nail to the back, the only glue I applied was at the center of the runner to allow for wood movement.
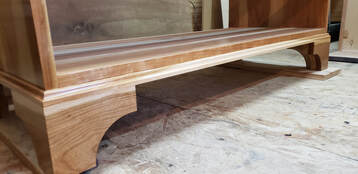
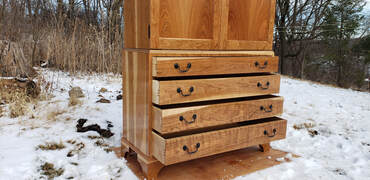
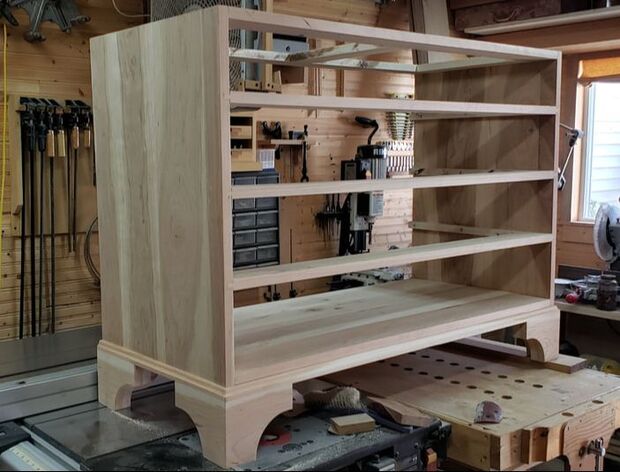
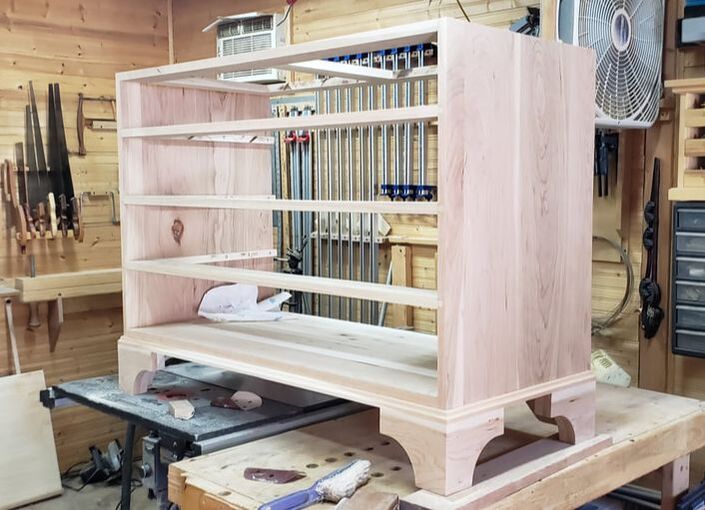
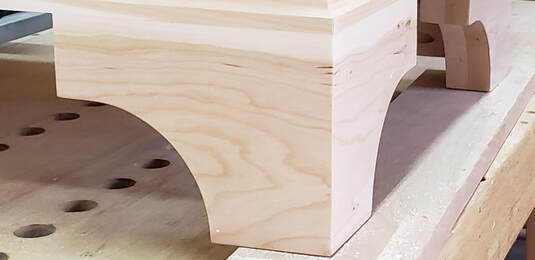
With the lower carcass together I was able to create the base frame for the feet to attach too, the frame is one inch thick by four inches wide and joined with mitered corners and a half inch thick spline to add strength to the joint. I did created a profile to the edge using a scratch stock that I can only describe as sort of ogee in appearance. Once the base frame was attached I moved on to making the footings, using a simple foot design I have been using for a long time now in projects like the hall tree I built and few others.
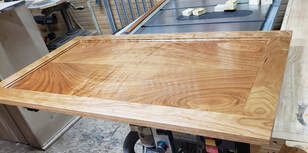
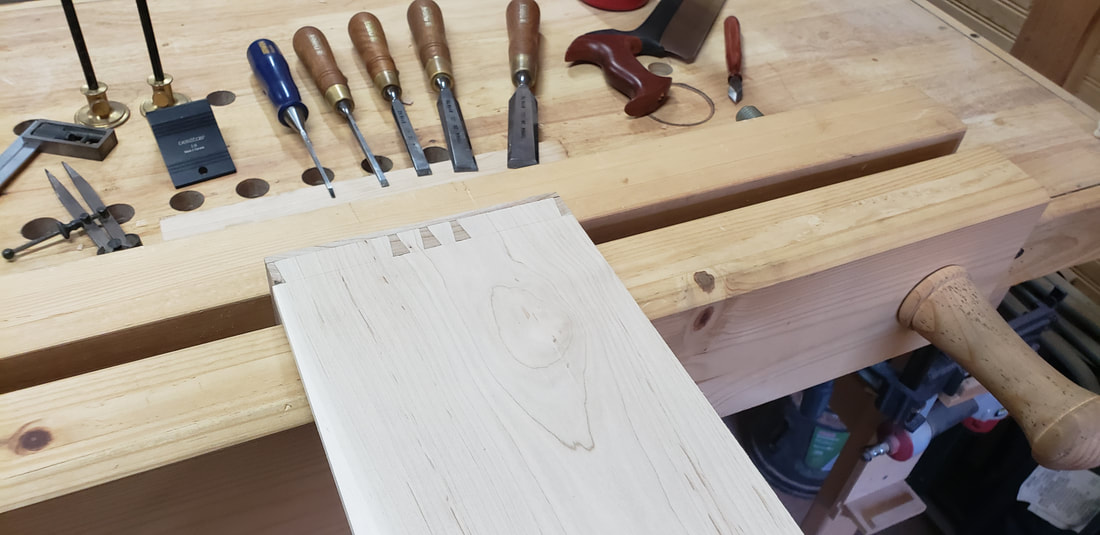
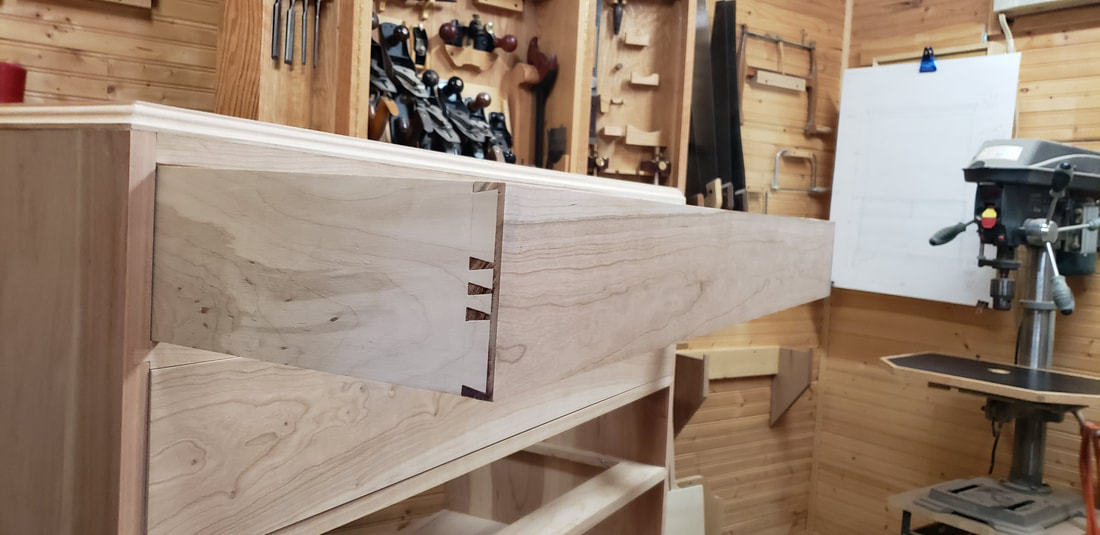
I could now focus on the drawers and dovetails where the only choice, using maple for the sides and bottoms and of course cherry for the faces. The big issue I had with this build was it is such a simple design I wanted to do something to make it stand out and the only way I could see to do it was in the details, things like the spacing of the dovetails. a small detail really but enough of one to make a big difference with out it being so much it pushed it over the top. I also spent what seemed like hours agonizing over the cherry I had trying to pick the best layout and boards for the faces, and I'm pretty happy with end result of both.
 While working on my latest project there have been a few moments when in the middle of doing something I realized how often I have been asked about exactly what I am doing right now, and always meaning to address these questions in better detail then with my typical response of a quick typed answer I never seem to be able to. So moving forward as I work through future projects I will try to cover these sort of questions, now I'm not sure if you would call these tips or tricks but some of this stuff will be common knowledge to some but hopefully it helps someone. Either way helpful or not I'll do my best to share it here as the answers to your questions present themselves.

|
The Shavingwood Workshop Blog
Archives
June 2024
Categories |


 RSS Feed
